Peanut Butter Pie with Chocolate Cookie Crust. That’s right, you heard me.
This pie is sheer magic–picture creamy peanut butter blended with cream cheese and brown sugar, surrounded by a chocolate wafer crust. Seriously, what’s not to love? The recipe comes from the wonderful people at Baked NYC and their cookbook Baked: New Frontiers in Baking. You know, the same guys who are responsible for those brownies I shared with you a few weeks ago?
You really don’t need to be a master of the kitchen to make this; it’s one of those stir-a-bunch-of-things-together kind of things, and it’s actually frozen, making it the perfect cool treat for your next summer barbecue or cookout. Just pull it out of the freezer when it’s time for dessert!
To start, you’ll need some of these. They’re kind of like the cookie part of the Oreo!
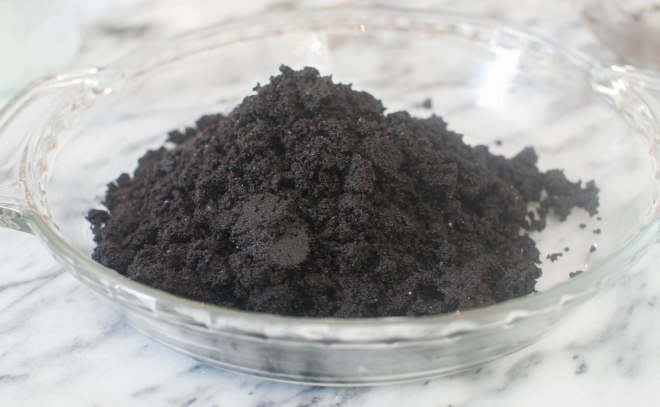
Throw a bunch of wafers in the food processor and pulse it until you get a fine powder. Then, just stir in a touch of sugar and drizzle in some melted butter.
And that right there is the pie, ladies and gentlemen! See? Told you it was easy.
Ha. Just kidding, though I would be more than happy to help myself to a plate of those crumbs.
Anyway, at this point the cookie crumbs will be nice and moist, so you can go ahead and plop ’em down into a 9-inch pie pan…
And gently press them up the sides using your fingers or the back of a spoon. Just like a graham cracker crust!
Put the pie in the refrigerator for 10 minutes while you melt some chocolate chips. Use a microwave, double boiler, or whatever suits your fancy! Once the chocolate is melted, let it cool just so it’s not scalding, then pour/spread it into the bottom of your (slightly hardened) crust. Pop the pan back in the fridge and proceed with the filling!
In the bowl of an electric mixer, combine some creamy peanut butter, cream cheese, vanilla, and brown sugar. Beat this on medium speed until everything is nice and smooth. Set this aside.
In a clean bowl, whip some heavy cream until you get soft peaks, then fold the cream gently into the peanut butter mixture.
And that’s it for the filling! Plop it down into that glorious crust and smooth it all out with a spatula. Freeze for at least 4 hours, or up to 3 days (if it’s covered).
I say it’s time to dig in.
I tried my best to cut a clean slice, I really did. Clearly it didn’t work out too well.
But the pie sure tasted great!
Peanut Butter Pie with Chocolate Cookie Crust
from crumbsandnibbles.com, adapted from Baked: New Frontiers in Baking by Matt Lewis and Renato Poliafito
Makes 1 9-inch pie
Ingredients:
For the cookie crust:
30 chocolate wafer cookies (about 6 ounces. I used Nabisco)
1 tablespoon sugar
6 tablespoons unsalted butter, melted
For the filling:
1/2 cup semisweet chocolate chips
8 ounces cream cheese, at room temperature
1 cup creamy peanut butter (I used a natural, unsweetened kind, but you could use Skippy or Jif if you want)
2 tablespoons vanilla extract
3/4 cup firmly packed dark brown sugar
1 1/2 cups heavy cream
Directions:
1. Start by making the crust: Place the cookies in a food processor and pulse until they form a fine powder. Transfer the cookie crumbs to a bowl and stir in the sugar. Pour in melted butter and stir until combined. Transfer the crumbs to a 9-inch pie pan and use your fingers or the back of a spoon to press the crust up the sides of the pan, creating an even layer. Refrigerate for 10 minutes.
2. Melt the chocolate chips in the microwave or a double boiler. Let cool for a minute so the chocolate isn’t burning hot, then pour/spread it into the bottom of the crust. Refrigerate while you make the filling.
3. Place the cream cheese, peanut butter, vanilla, and dark brown sugar in the bowl of a stand mixer or a large bowl. Beat on medium high until everything is smooth. Set aside.
4. In a clean mixer bowl, whip the cream using the whisk attachment until it forms soft peaks. Fold the cream into the peanut butter mixture until the filling is all an even color. Spread the filling into the crust and freeze for at least 4 hours (or up to 3 days if the pie is covered).
Happy nibbling!


No Comments