Some time last week I had a vision: inspired by the talented Molly Yeh, I pictured mini cakes made with fluffy layers of angel food cake and stacked high with the help of strawberry whipped cream, then proudly displayed in my mom’s glass candle holders. They’ll be so pretty and cute! I thought.
But then, as I started to plan, I hit my first roadblock: How to get the thin layers I dreamed of? At first the answer seemed so easy–I’d just bake the cake in a sheet pan! Done!
Not quite. After some research, I came to the conclusion that angel food cake, being composed mostly of egg whites, needs to be baked in a tube pan (or loaf pan) so that it can climb the walls of the pan. I probably spent an hour trying to figure out if a 9×13 dish could work, but given the number of naysayers I finally decided to stick with the safe route and use the suggested pan.
So after school on Friday, I set out to bake. Everything went according to plan and by the end of the night I had a beautiful angel food cake. I wrapped it up in plastic and went to sleep thinking happy thoughts.
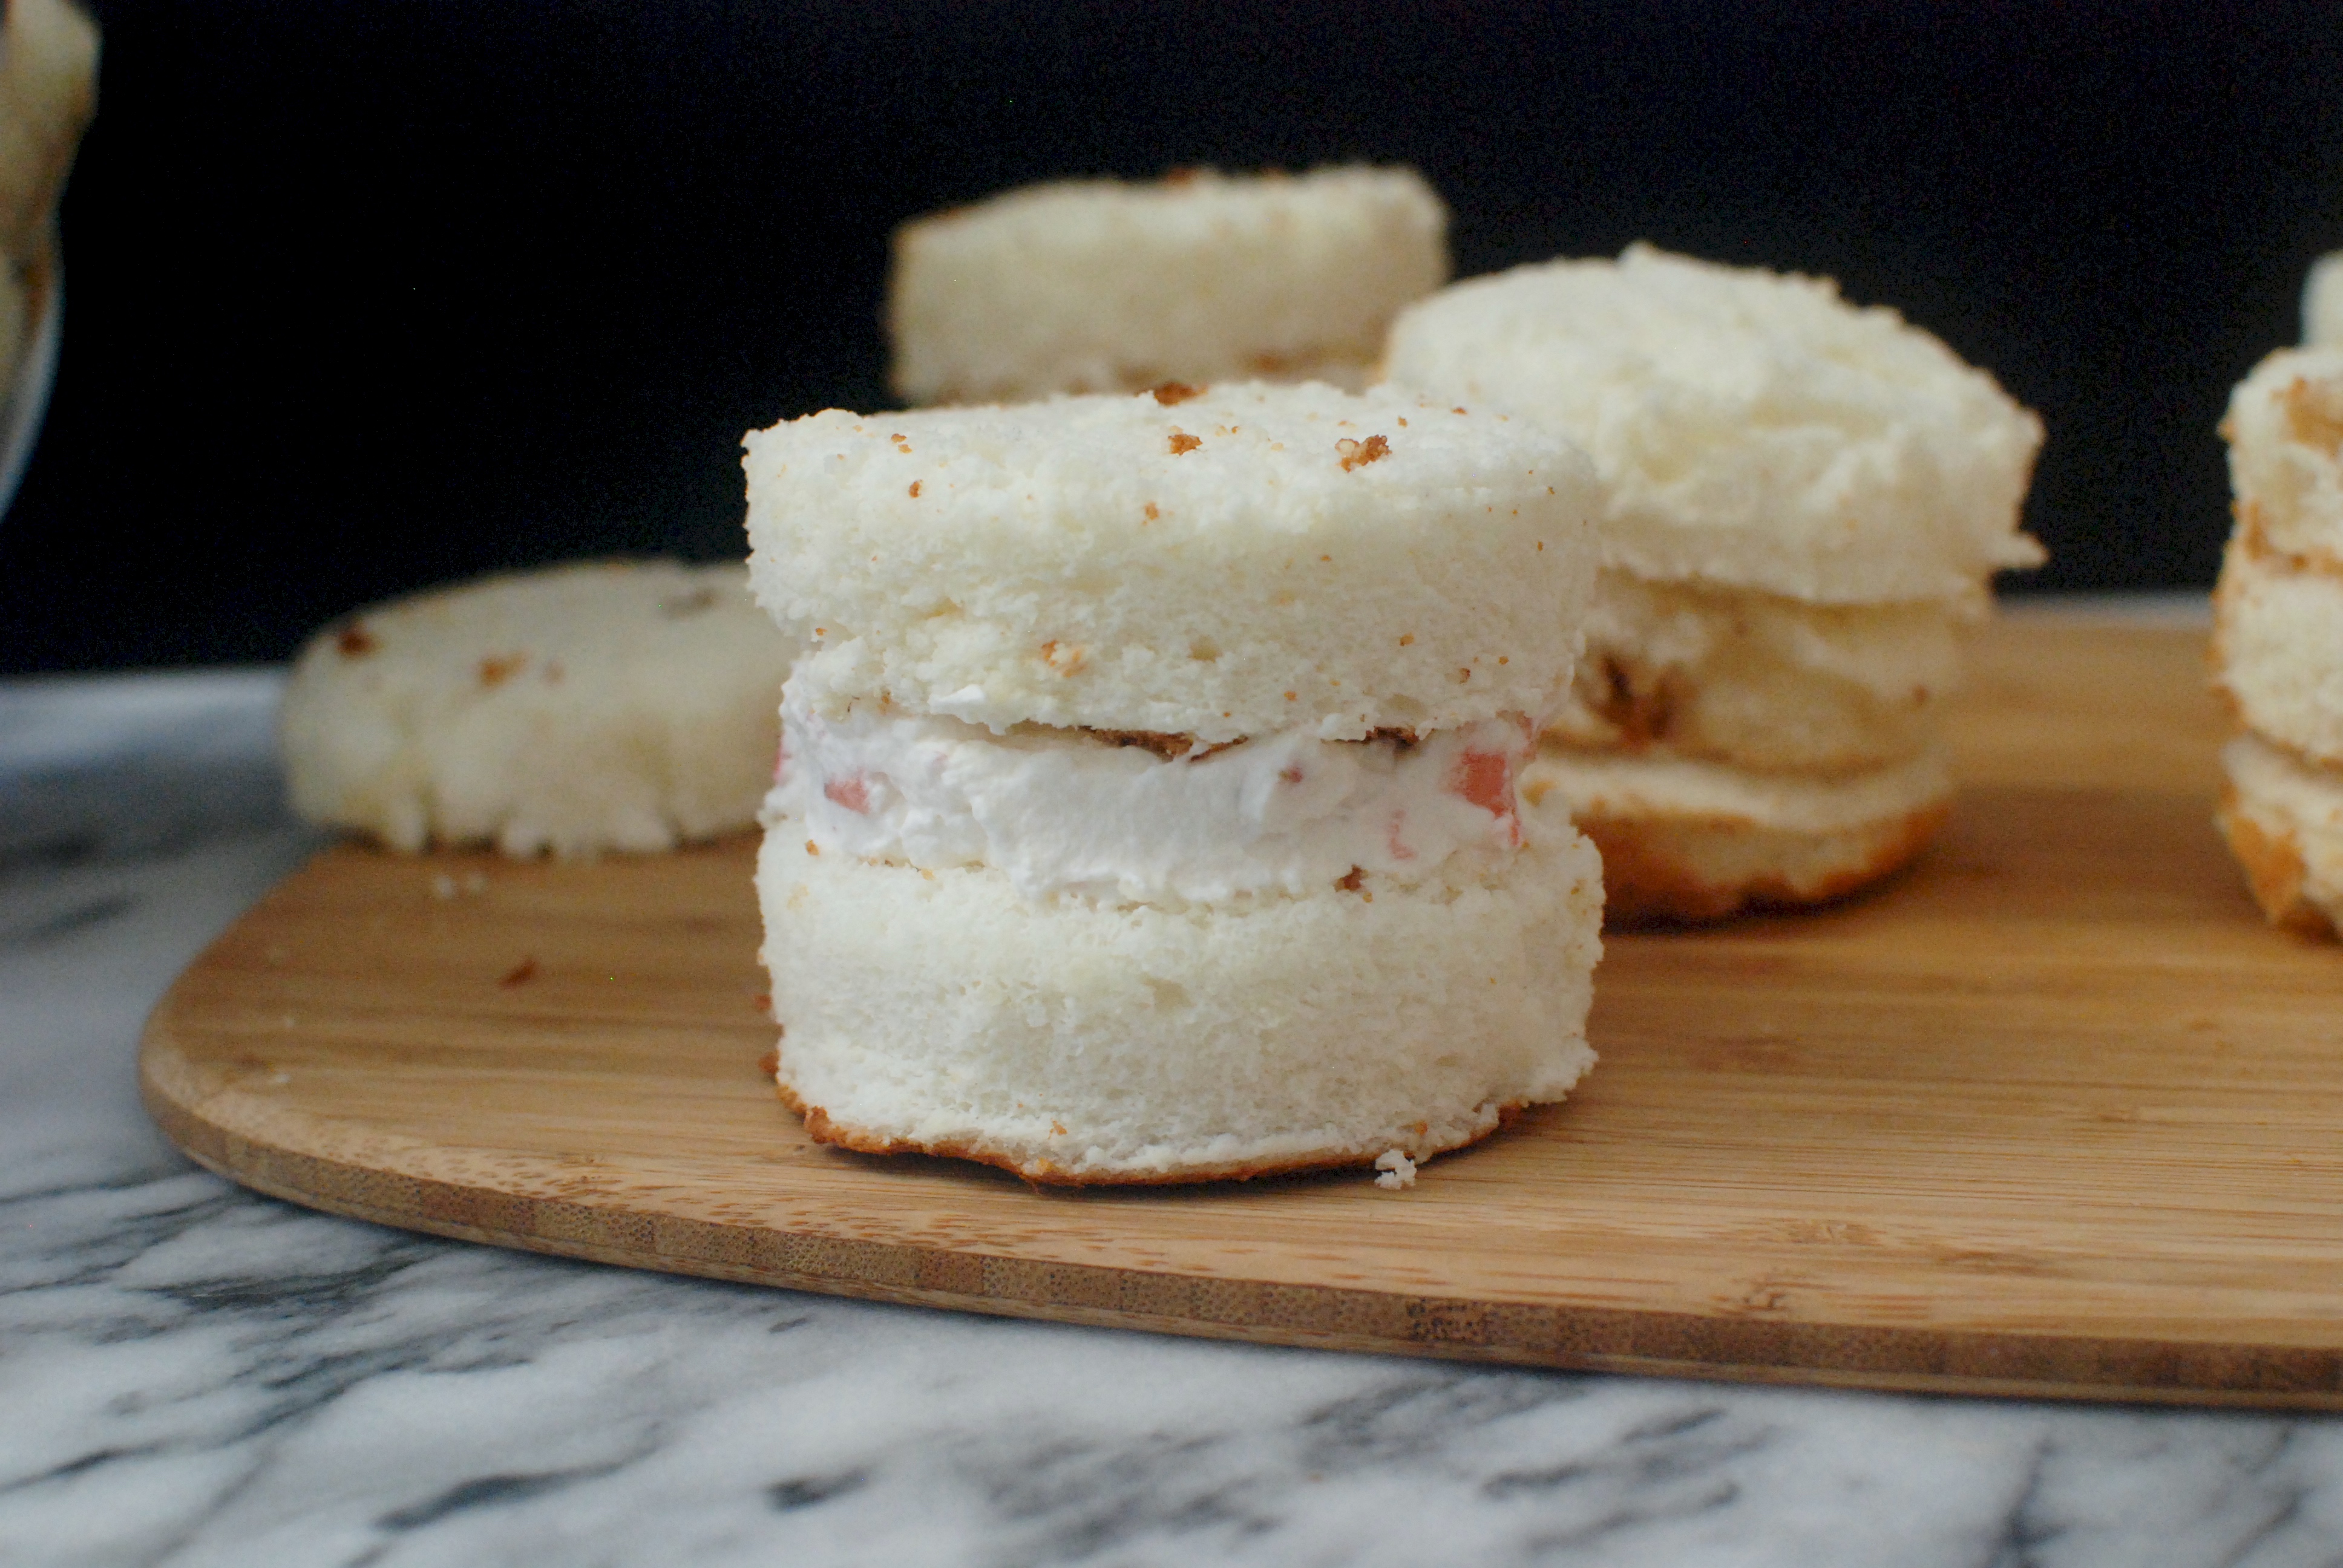
Early the next morning, I successfully sliced through my cake and–miraculously–ended up with relatively even layers. I was even able to cut out pretty good circles once I got the hang of it, and before long I had my stacks of cake all ready to go. Next I just whipped up some cream and folded in some macerated strawberries, and it was showtime!
I got to work icing and stacking and spreading, taking photos as I went. This is going great! I thought. In no time I was setting up my gear to shoot outside, beautiful mini cakes in hand. I took a bunch of shots, but then, before I knew it…
The cakes went toppling down!
The black board I use as a backdrop crashed down onto my setup. There was one lone survivor, and one cake that we managed to scrape back together. Needless to say, I was a bit of a wreck. But all’s well that ends well, I guess, because the cakes still tasted great and I did manage to snap some decent photos before the chaos struck.
So, that was my story for the week. But here’s the best part–the recipe!
To start, you’ll need to separate a whole lotta eggs (12, that is). Make sure not to get any yolks in your whites. I actually separated each egg individually before adding it to the larger bowl.
In another bowl, sift together some cake flour and sugar and set it aside. Now back to the whites: beat them on high with some cream of tartar and salt until soft peaks form, like this.
Then just add in a bit of sugar and continue to beat on high until this happens. We’re talking stiff peaks. The next step is simple; just gradually fold in the flour mixture and some vanilla, being careful not to deflate the egg whites. Make sure to incorporate all of the pockets of flour.
Spoon the batter into an UNGREASED tube pan and run a knife through it to remove any remaining air pockets. Bake at 375 F for 30-35 minutes, or until the cake springs back when lightly touched.
You may be a little confused by this picture. Allow me to explain: immediately after you remove the cake from the oven, you’ll need to turn the pan upside down and insert something into the end of the tube, such as a bottle. This is to make sure the cake doesn’t fall as it cools.
Once the cake has cooled completely…
You can turn it out! Just carefully run a knife along its edges and give the pan a whack.
 Yay! Now you can store the cake like this, or just go on ahead and assemble the mini cakes.
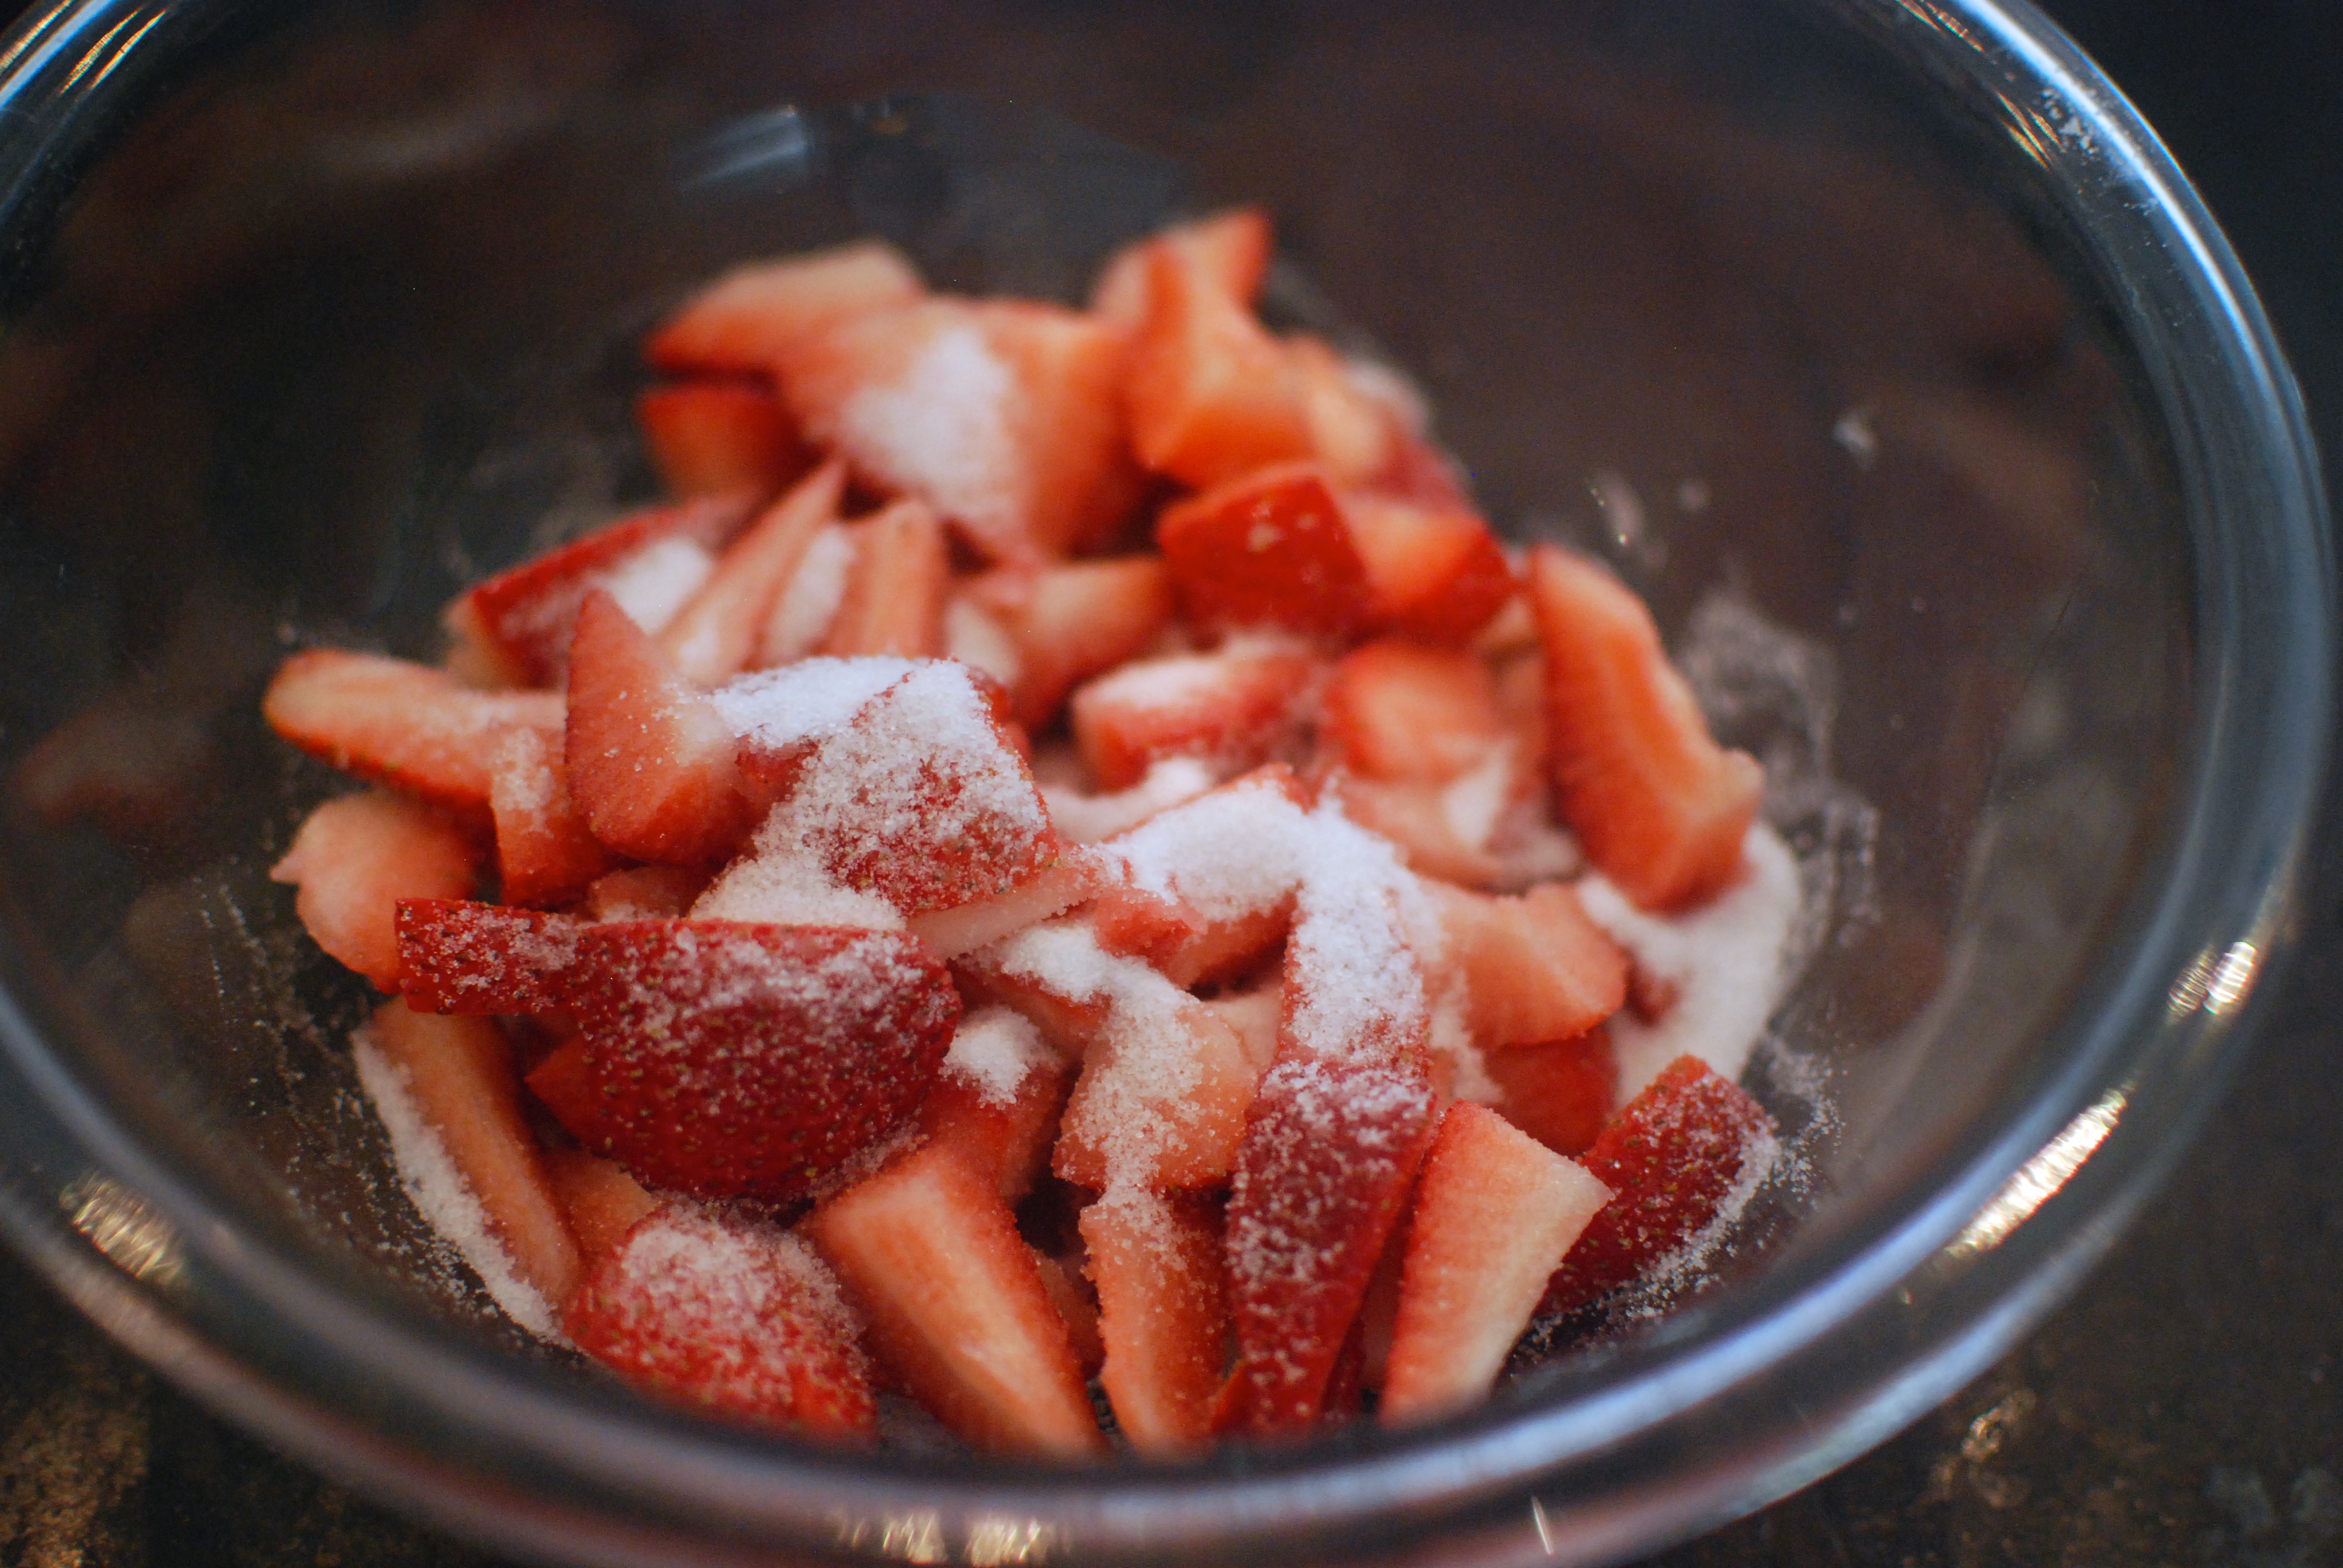
To make the whipped cream, start by macerating some strawberries (pretty much just dumping some sugar on some chopped berries to draw out the juices and make them extra yummy). These’ll need to sit for a good 30 minutes…
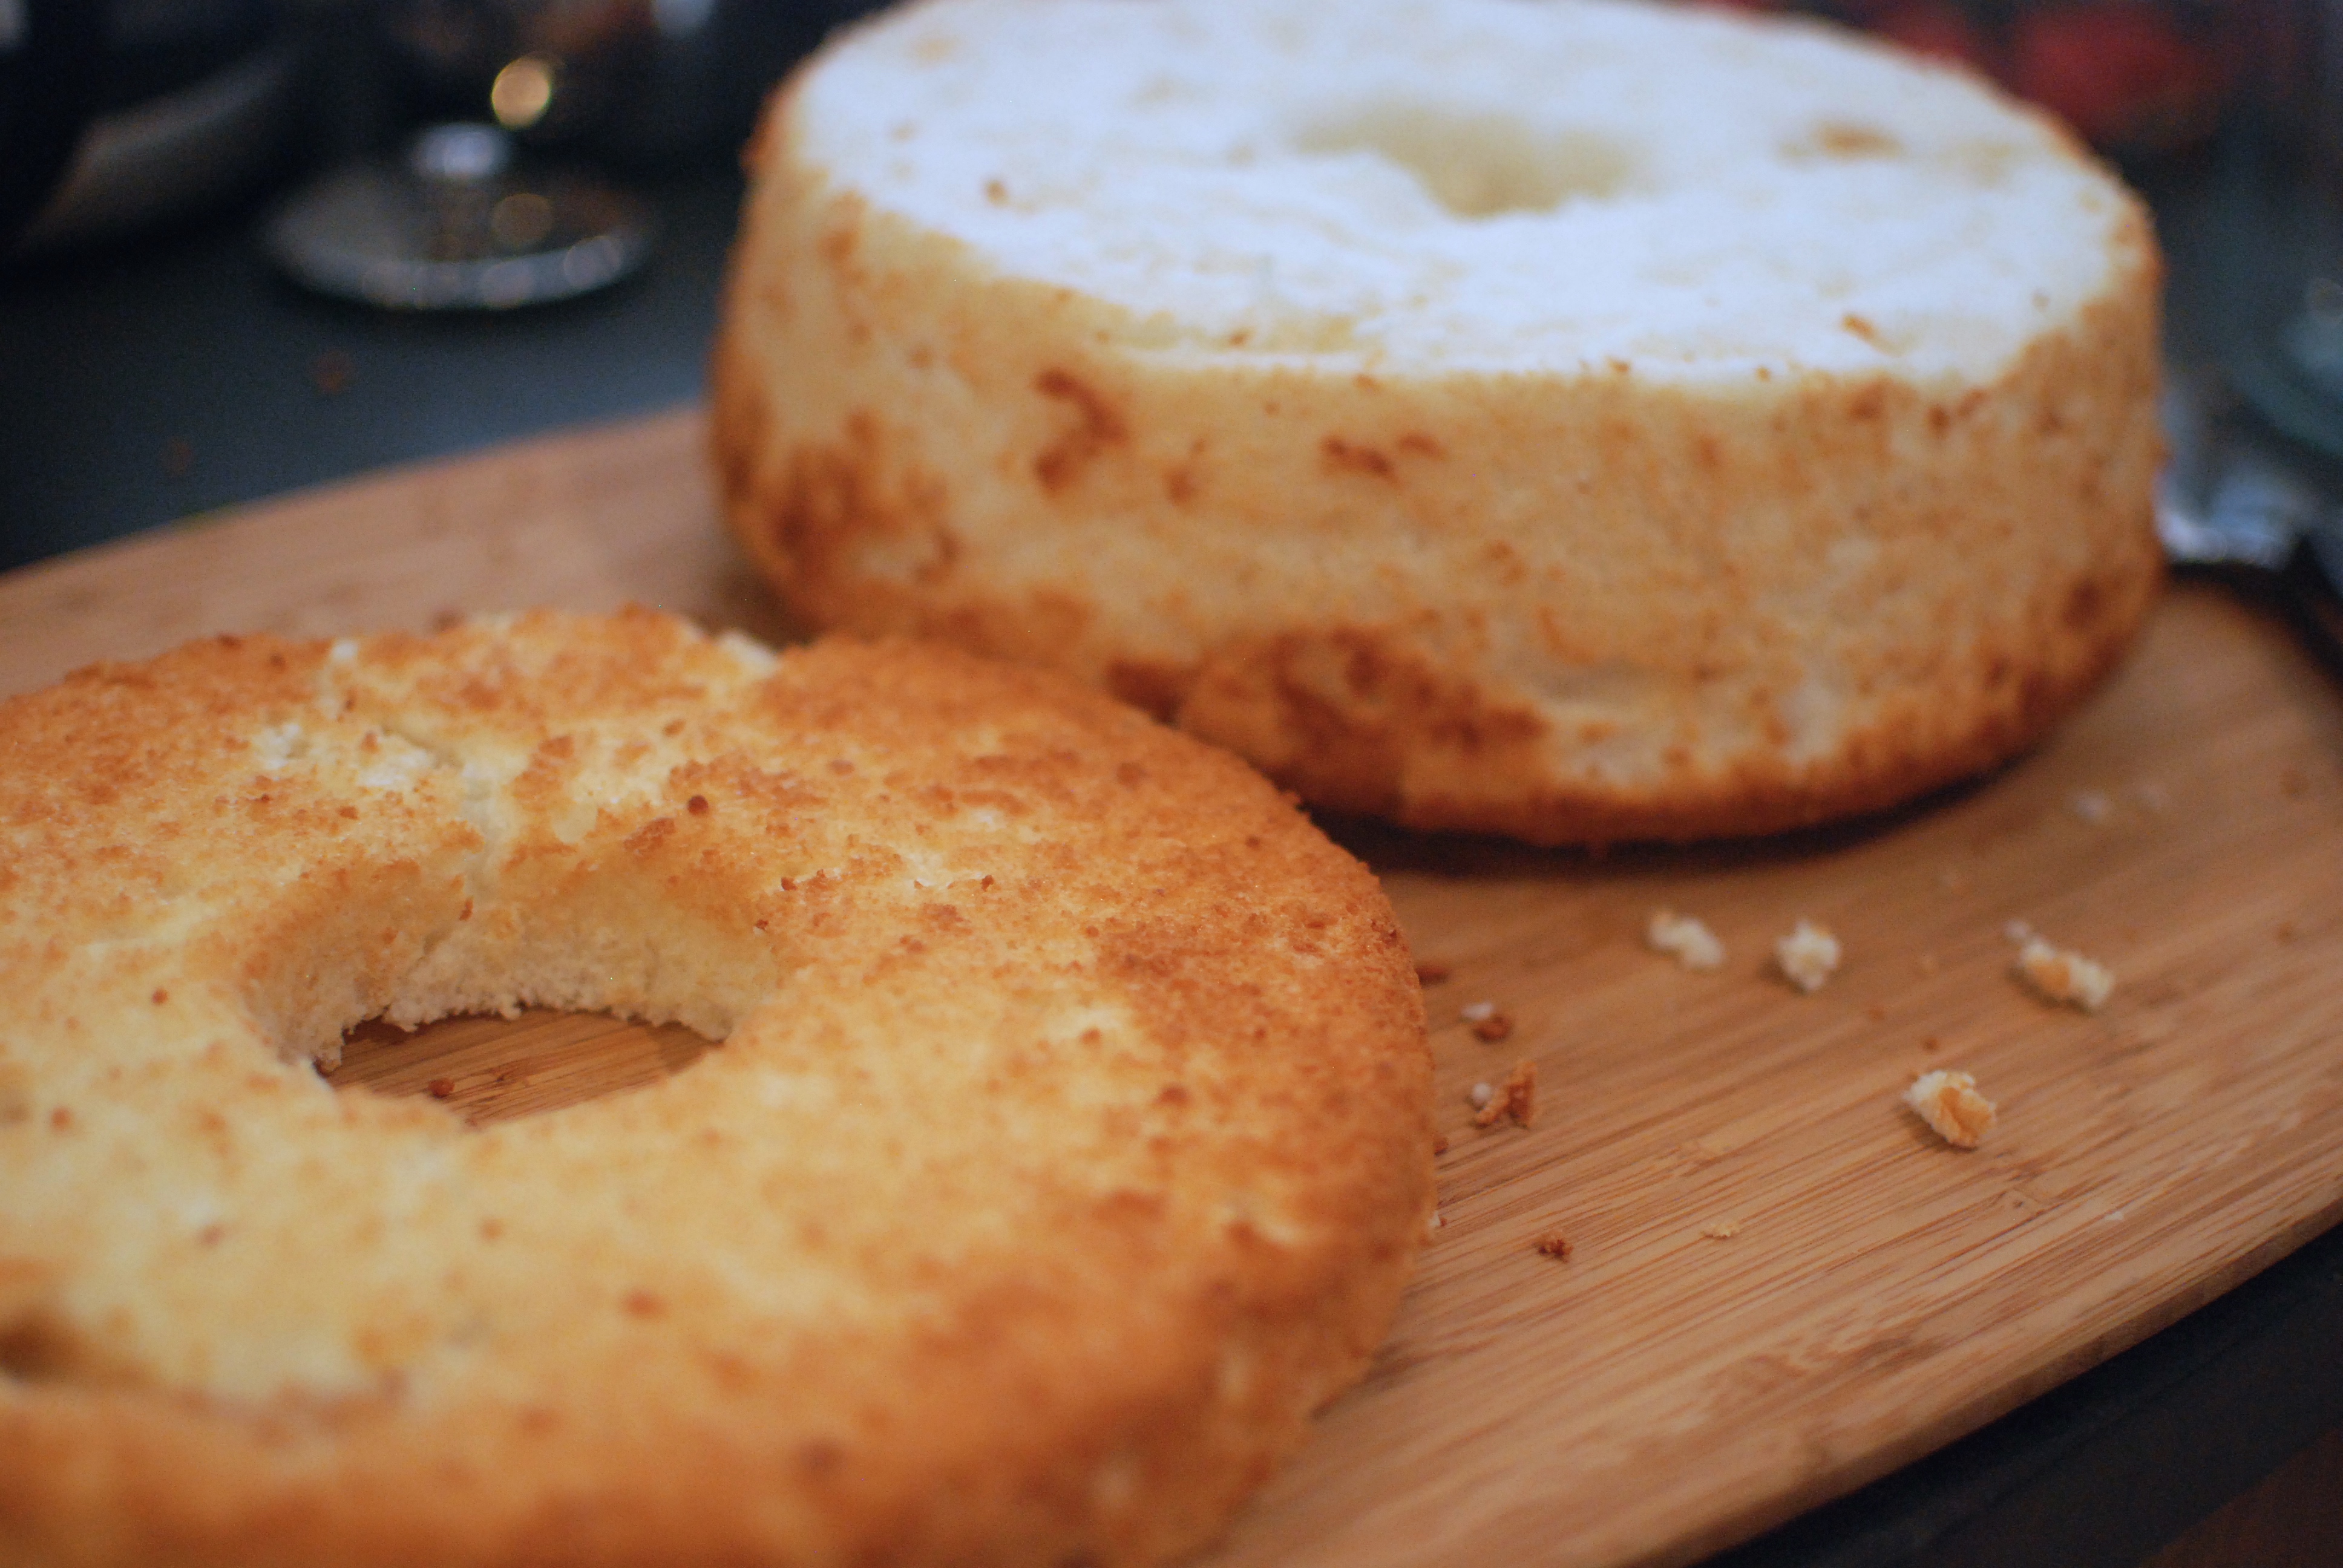
So in the meantime, you can slice the cake!
To do this, just use a sharp knife and keep your palm on the top of the cake.
Use a 2 1/2-3 inch biscuit cutter to cut out circles, twisting the cutter back and forth gently to avoid compressing the edges.
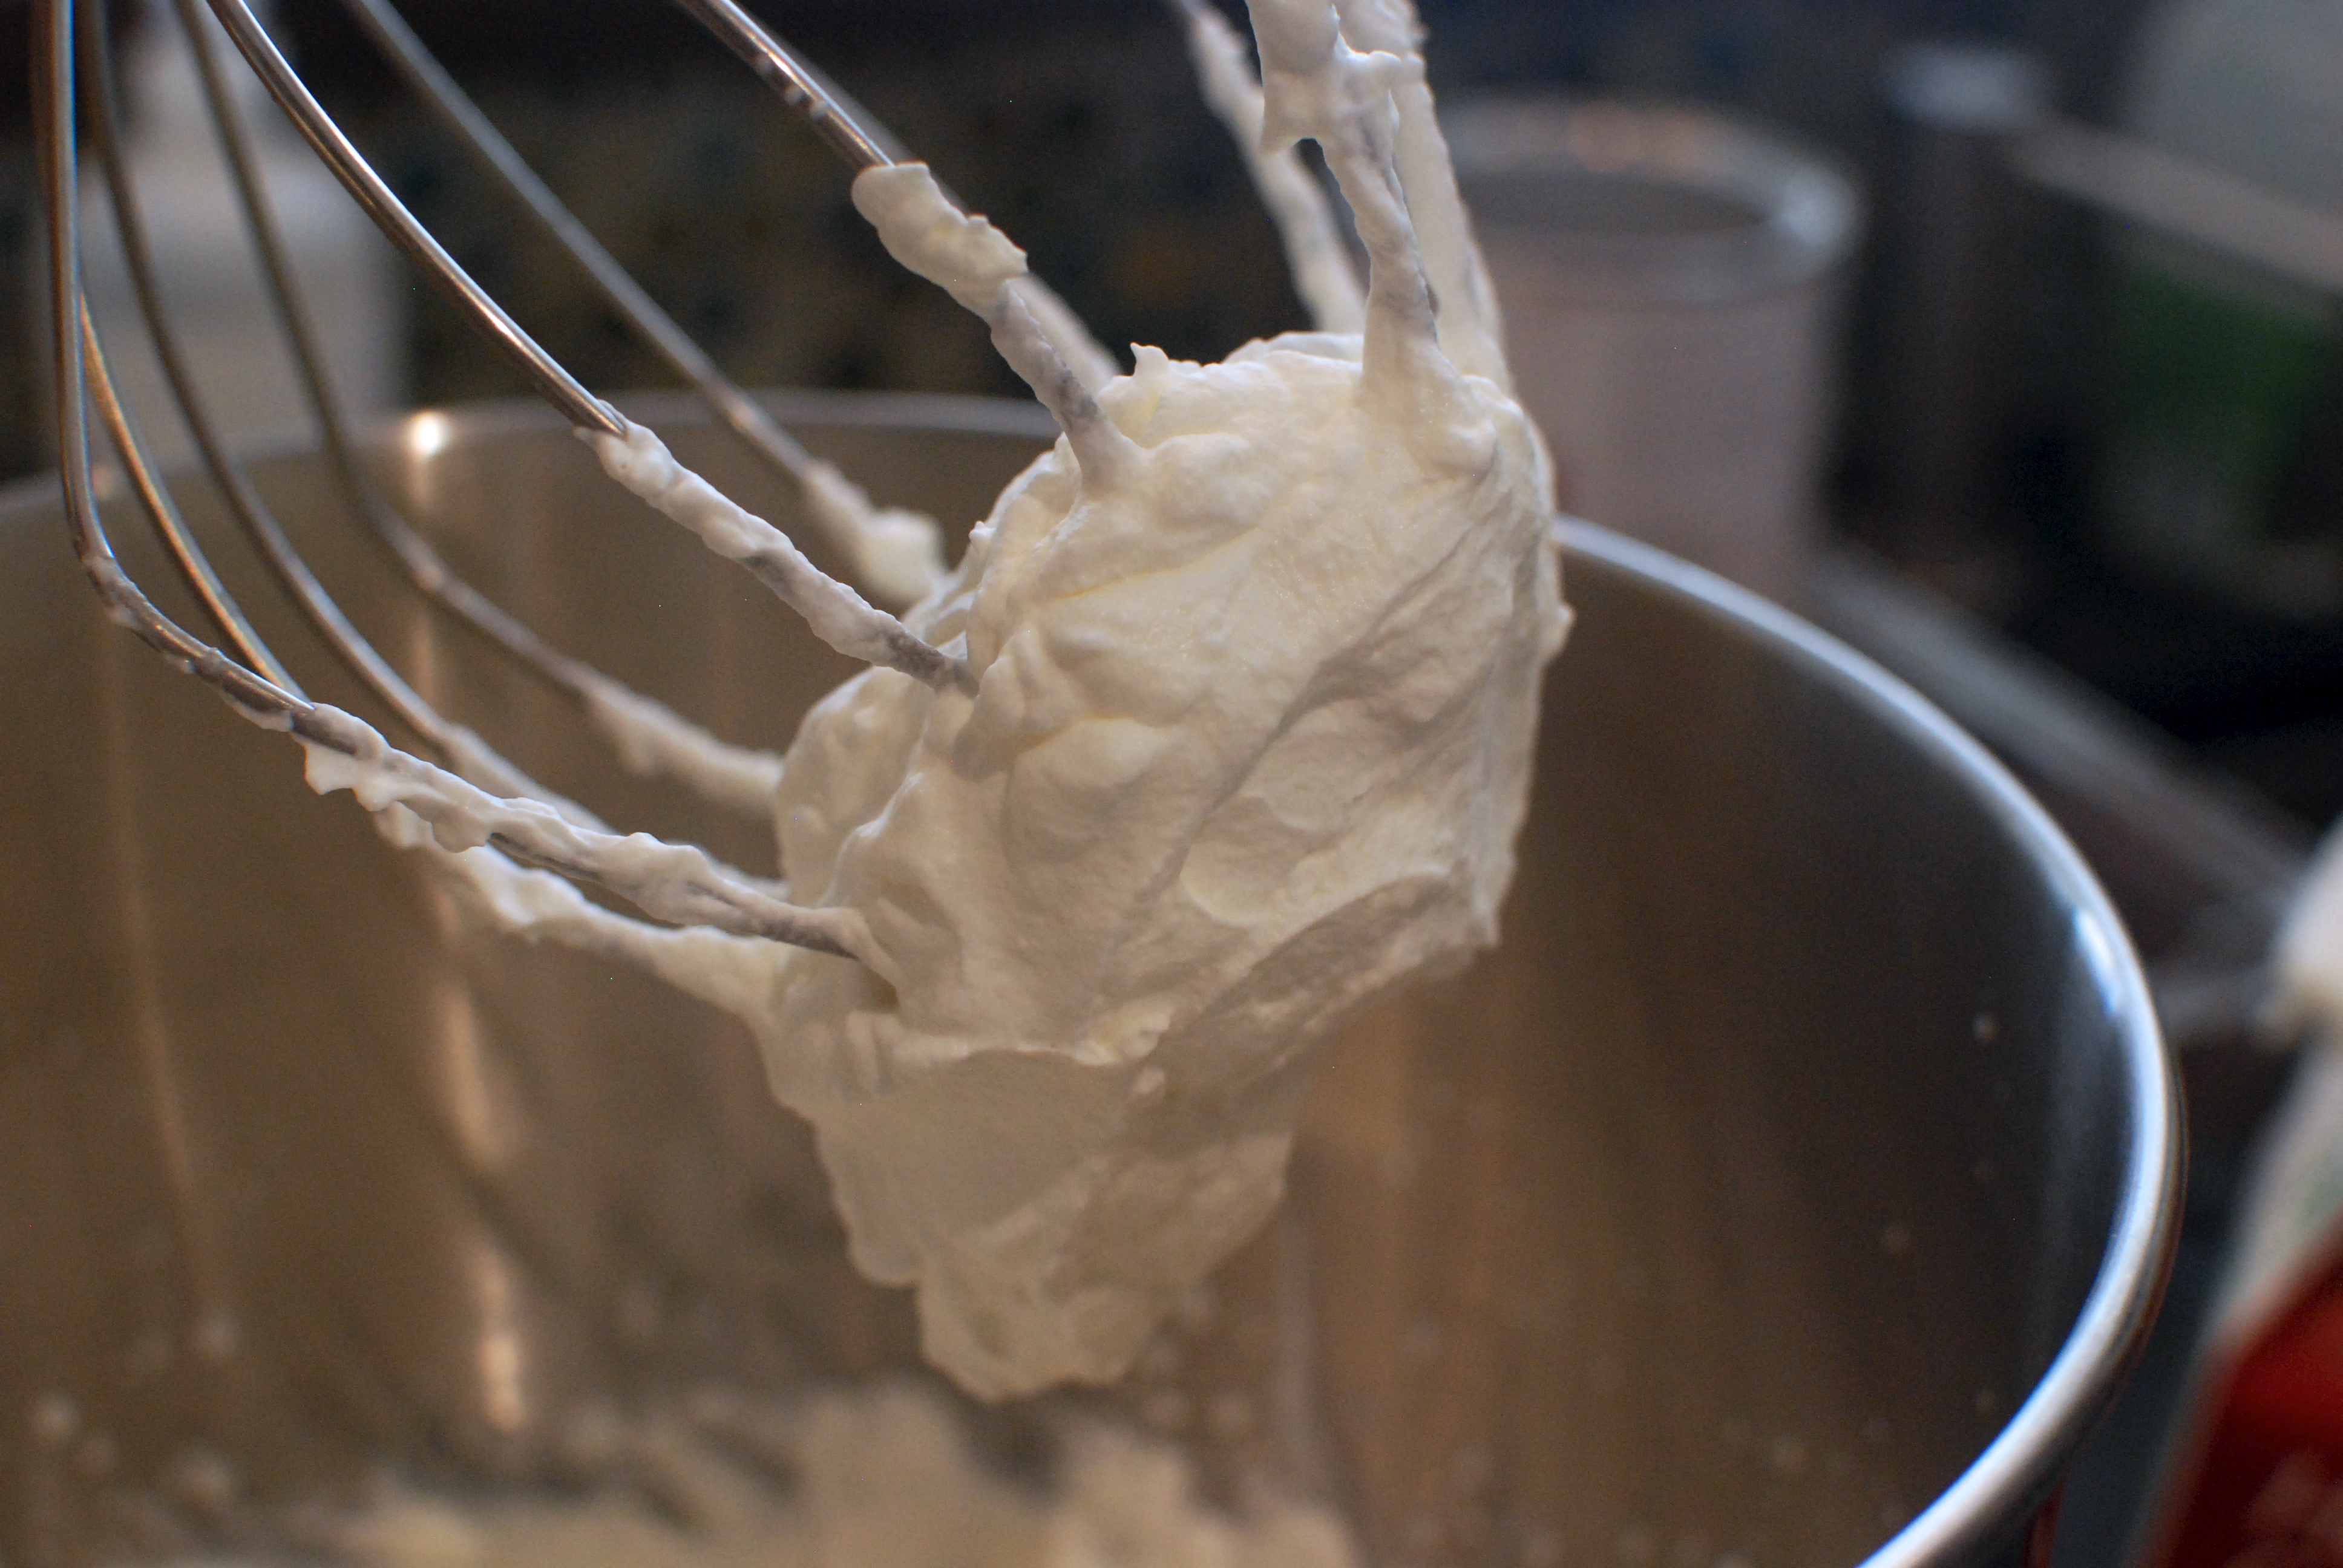
Aaaand now back to the cream! Whip a cup of cream on high with a teaspoon of sugar…
Then fold in your desired amount of berries.
To do this, either use a spatula or knife…

Or use a piping bag. I prefer this method, but it’s completely up to you!
 Top each cake with any leftover strawberries!
Yum yum yum.
Make these today, folks! You won’t regret it.
Mini Angel Food Cakes with Strawberry Whipped Cream
Makes 4-6 mini cakes, or 1 angel food cake
from crumbsandnibbles.com, cake recipe from food.com
Ingredients:
For the cakes
1 cup cake flour
3/4 cup plus 2 tablespoons sugar
12 large egg whites AT ROOM TEMPERATURE
1 1/2 teaspoons cream of tartar
1/4 teaspoon salt
3/4 cup sugar
2 teaspoons vanilla
For the whipped cream:
1 cup heavy cream
1 teaspoon sugar
Scant 2 cups finely chopped strawberries (a little less than a pound)
Scant 2 tablespoons sugar
Directions:
1. Preheat oven to 375 F.
2. In a medium bowl, sift together cake flour and 3/4 cup plus 2 tablespoons sugar and set aside
3. In the bowl of an electric mixer (or a large bowl if using a hand mixer) beat the egg whites on high with the cream of tartar and salt until soft peaks form. Gradually add in the other 3/4 cup of sugar and continue to beat until stiff peaks form.
4. Gradually fold in the flour mixture and the vanilla, making sure to incorporate all of the pockets of flour as you go (this may take a little while). Spoon into an ungreased tube pan and run a knife through the batter to remove any remaining air pockets.
5. Bake for 30-35 minutes, or until the cake springs back when lightly touched. Immediately after you remove the cake from the oven, you’ll need to turn the pan upside down and insert something into the end of the tube, such as a bottle. This is to make sure the cake doesn’t fall as it cools. Let cool completely (about 2 hours), then use a knife to gently separate the crust from the pan. Invert onto a plate.
6. In a medium bowl, combine the strawberries and the scant 2 tablespoons of sugar. Let sit at room temperature for 30 minutes.
7. Meanwhile, slice the cake into 1 inch layer using a sharp knife and keeping your palm on the top of the cake. Use a 2 1/2-3 inch biscuit cutter to cut out circles, twisting the cutter back and forth gently to avoid compressing the edges.
8. When the strawberries are ready, beat the cream and 1 teaspoon of sugar on high until stiff peaks form. Fold in desired amount of strawberries.
9. To assemble the cakes, layer cake and whipped cream until you have 3 layers of cake, ending with more cream and topping with any leftover strawberries.
Happy nibbling!


7 Comments
More Than A Dash Of Salt
May 3, 2015 at 10:42 amThis cake looks awesome. Great photos to go with it too :).
bklynnibbler
May 3, 2015 at 12:19 pmThank you so much! 🙂
Debbie Krates
May 3, 2015 at 12:10 pmI now have my Mother’s Day desserts planned thanks to your lovely ideas. 🎂
bklynnibbler
May 3, 2015 at 12:19 pmYay! I’m glad I could help!
brooklynbookgal
May 4, 2015 at 1:44 amDelicious. Light and just sweet enough. Perfect for entertaining.
Rollout Sugar Cookies | Crumbs and Nibbles
March 1, 2016 at 2:18 am[…] done things as complex as a Momofuku birthday cake and mini angel food cakes and yet I’ve neglected to share with you a recipe for the very baked good many of us grew up […]
Frosted Red Velvet Cakies | Crumbs and Nibbles
March 21, 2016 at 2:01 am[…] See, this was taken just moments before my black poster board backdrop fell forward, leaving the angel food cakes I’d toiled over smashed on the ground. Good times, good times.But with every low point comes […]