

 So I just realized that exactly 2 years, 3 days and several hours ago I published my first blog posts ever. Dating from a time in which I was very young, very inexperienced and very into Instagram filters, my two first posts were entitled “A Weekend of Baking: Snickerdoodles” and “Buttermilk Scones,” and featured
 terrible, low-quality, er, slightly less professional writing and photography. In light of my blogiversary, I thought that maybe I’d show you some of the high points (and low points) of my Crumbs and Nibbles career!
 Of course, we must start with the picture that helped to kick it all off. I know, I was quite the photographer 😉
 Then there were those dreadful weeks in which our kitchen looked like this and I learned to make cupcakes using metro shelving as a counter.
 Ah, here’s a high point: My first foray into DSLR photography!
 Then there was that time I realized I needed to up my game from simple shots to artsy, styled food-blogger-y pics. I was especially proud of the “randomly” scattered chocolate chips.
 Oh man, this photo brings back memories. See, this was taken just moments before my black poster board backdrop fell forward, leaving the angel food cakes I’d toiled over smashed on the ground. Good times, good times.
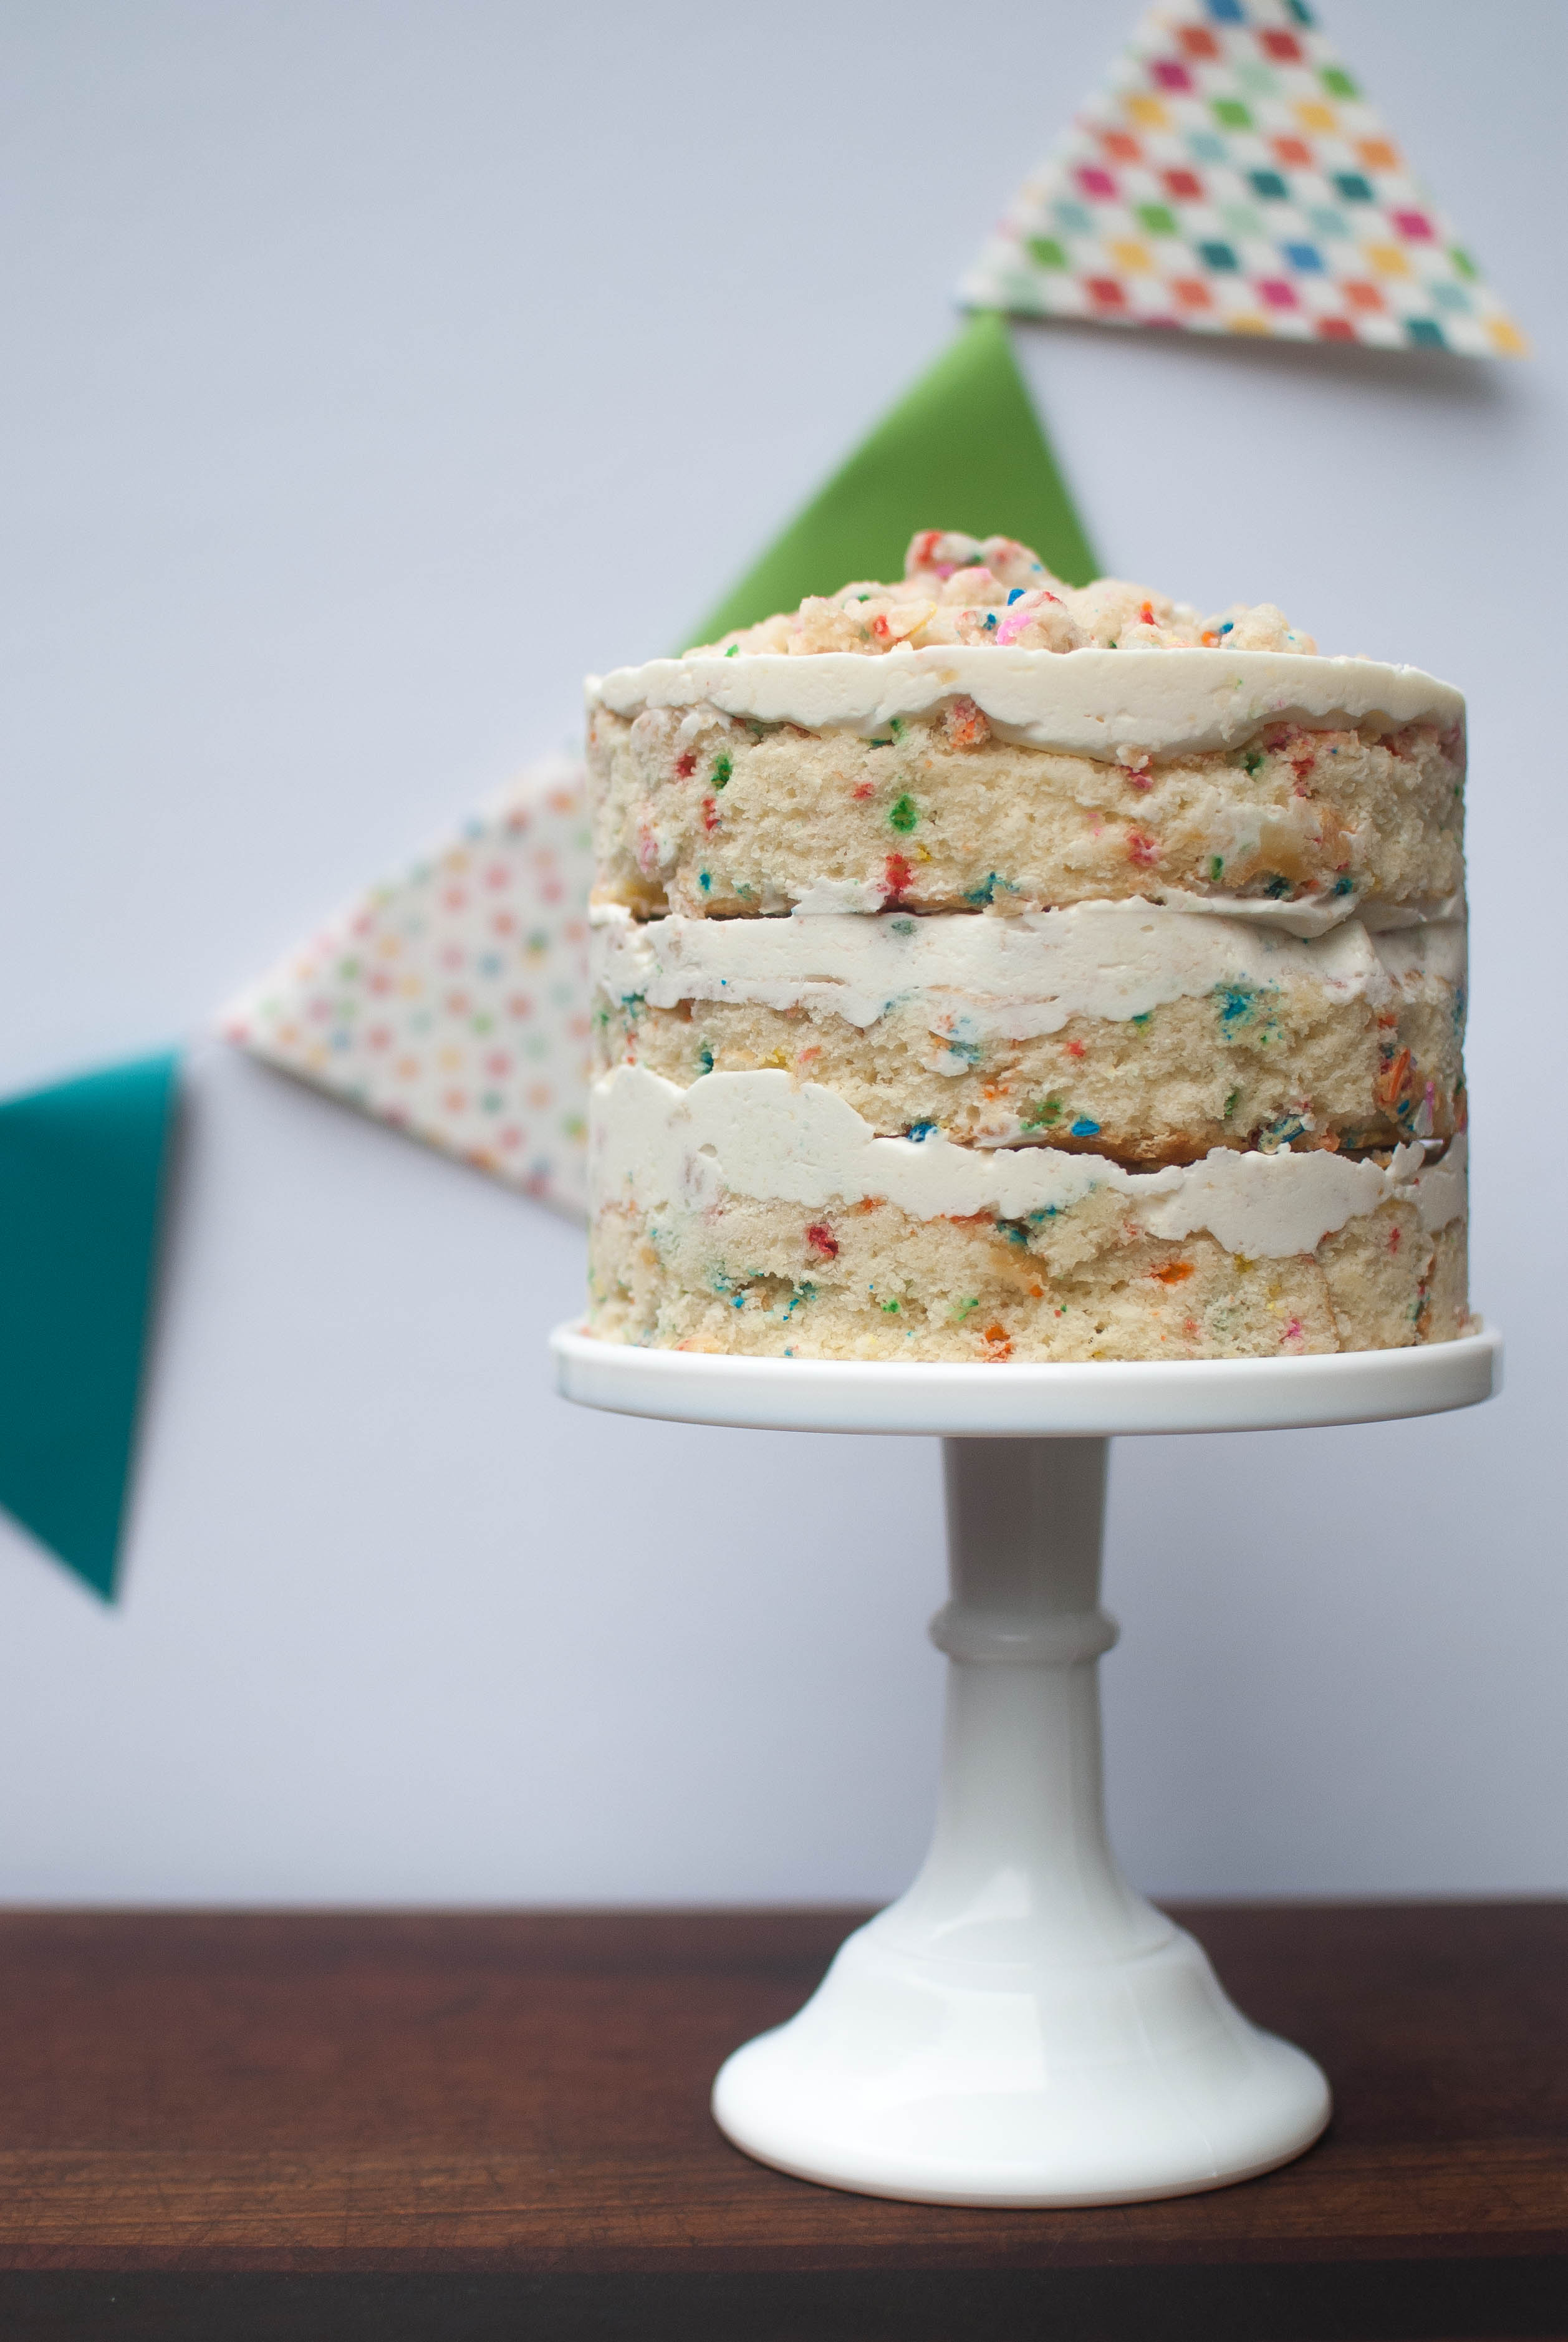 But with every low point comes a high point, like my first Momofuku-style cake. Aaand now I’m craving a slice, of course.
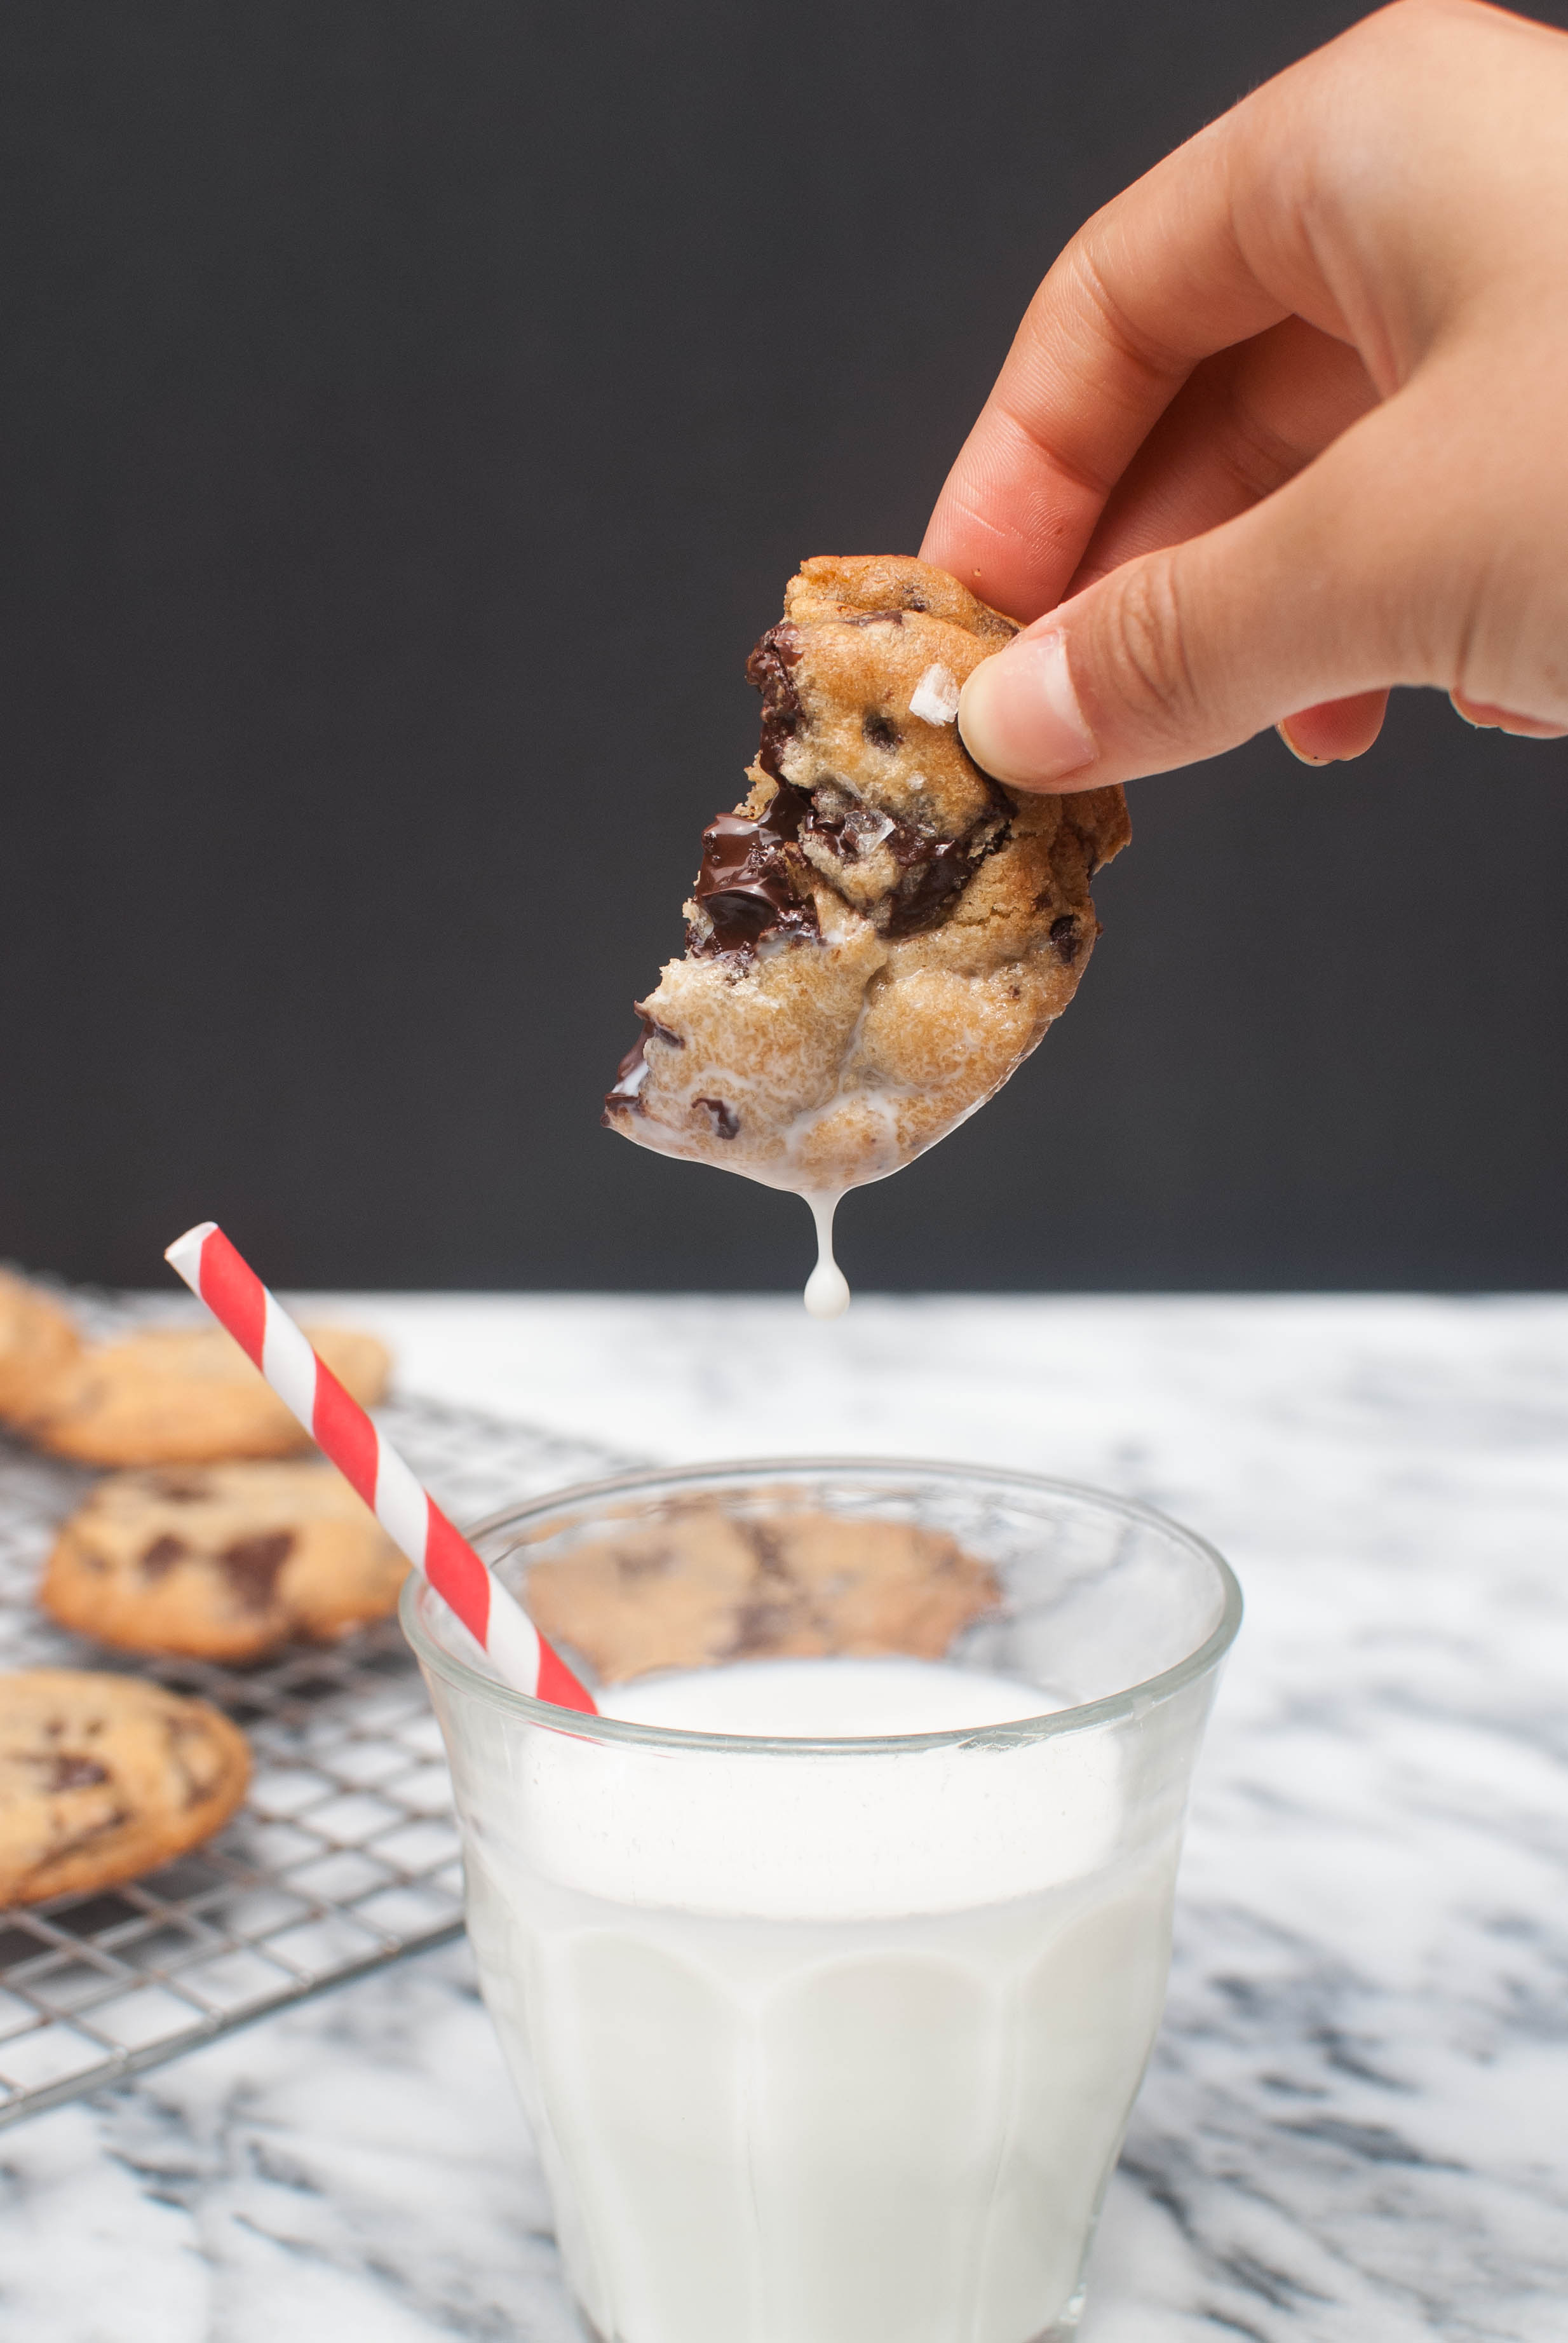 And now I’m craving one of these, too.
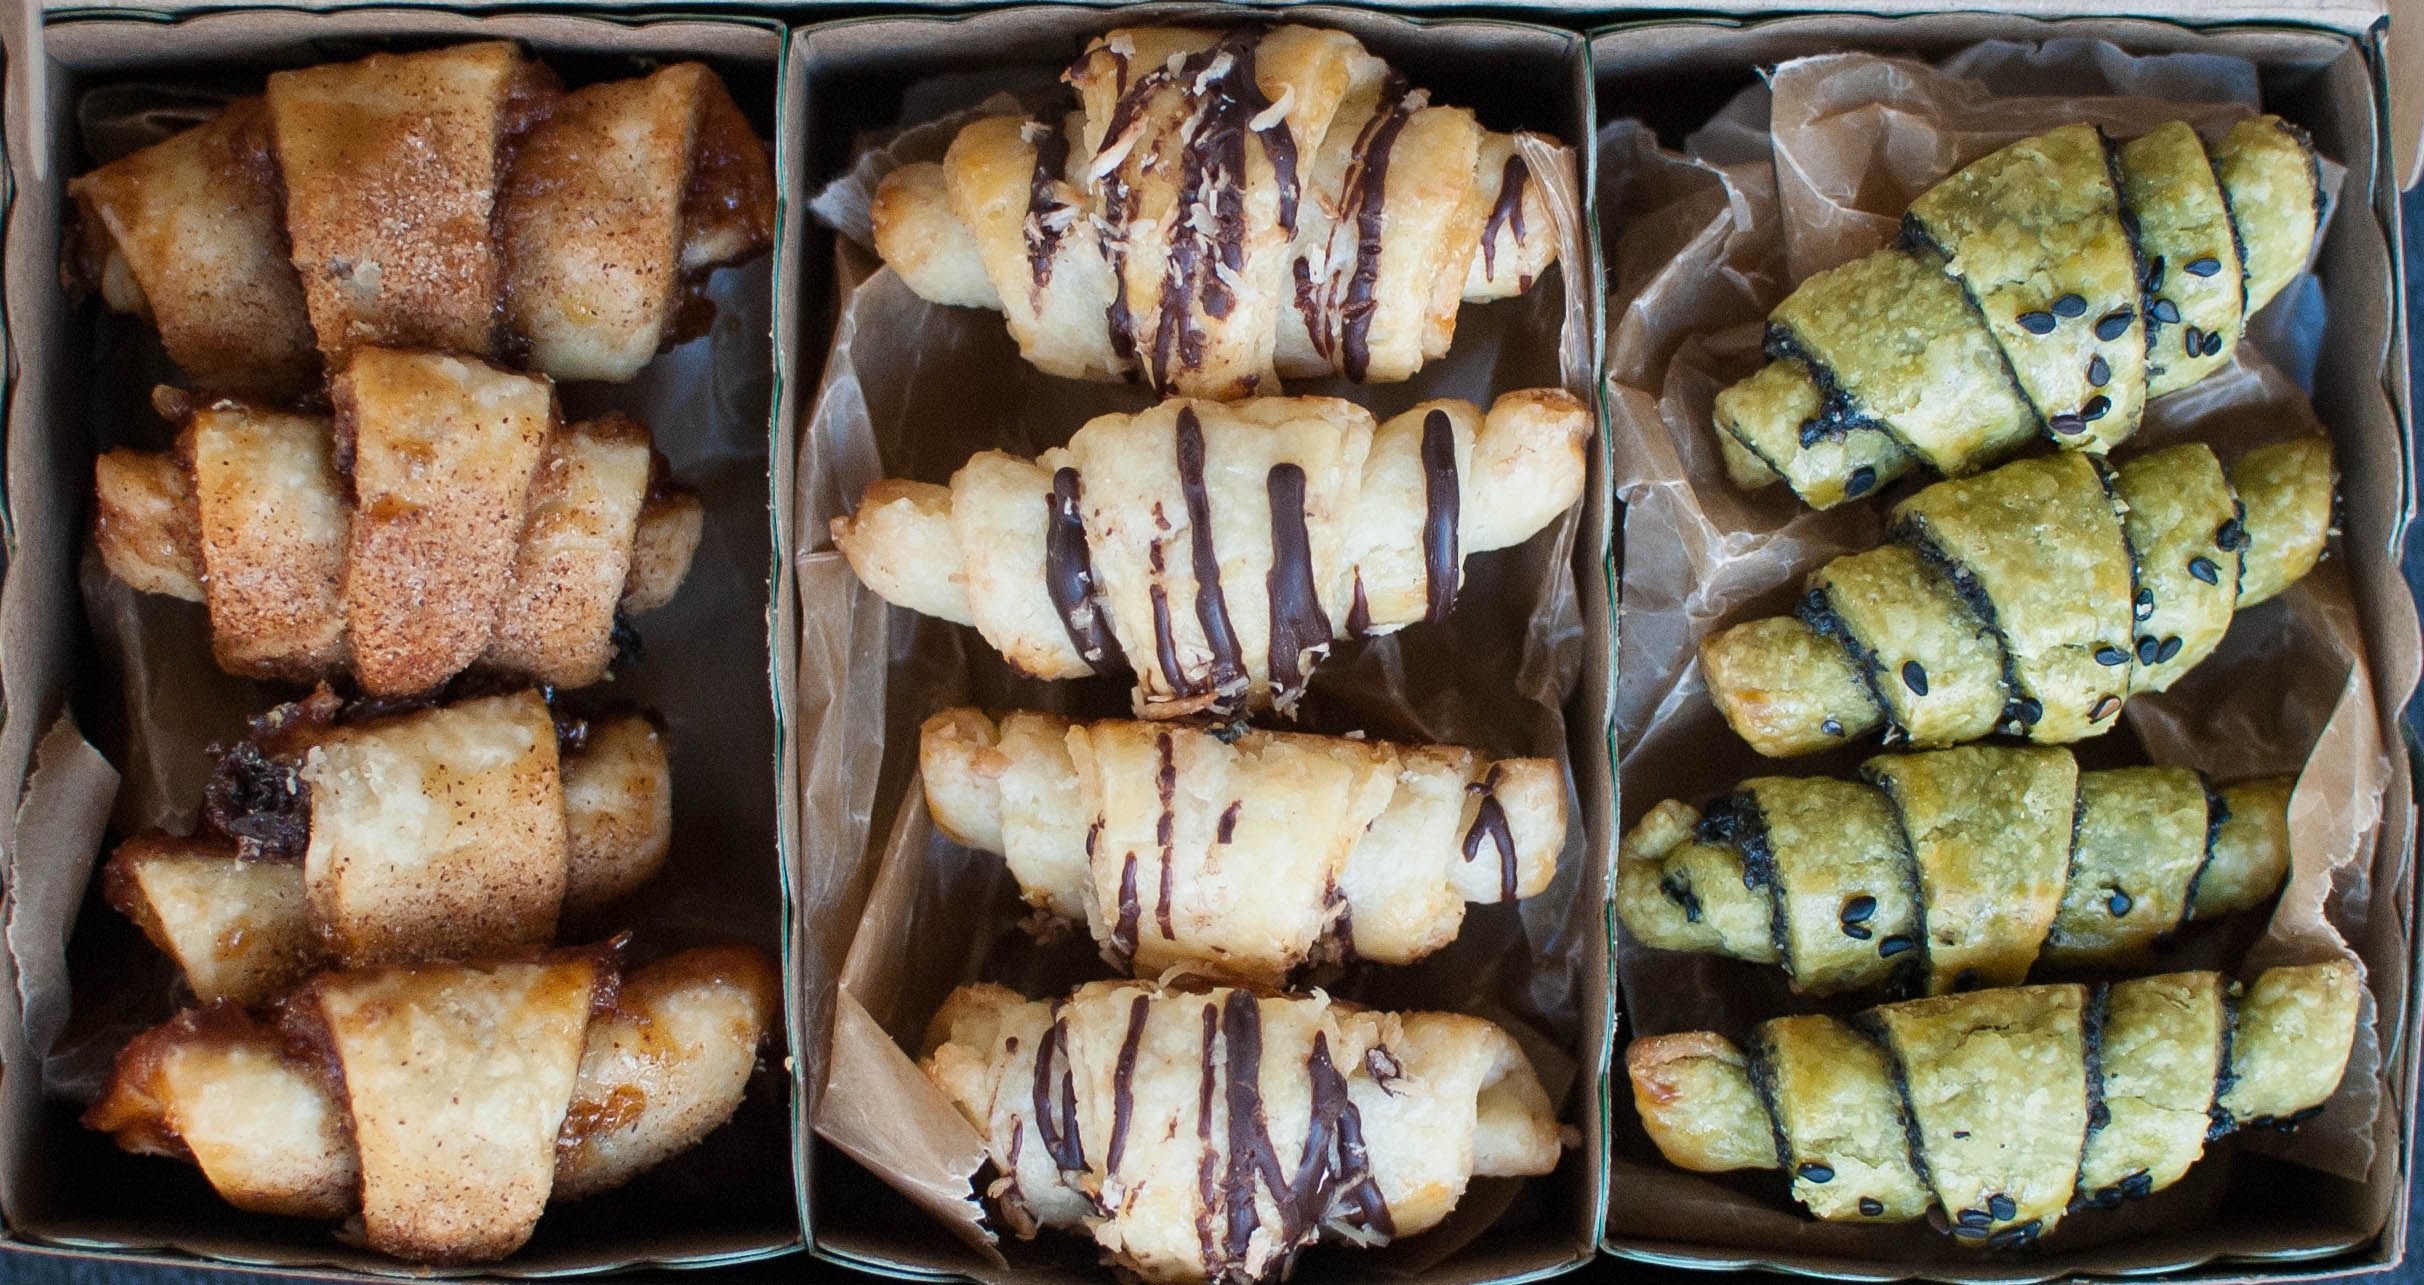 Oh, here’s the cookies I made for that wonderful cookie swap I told you all about!
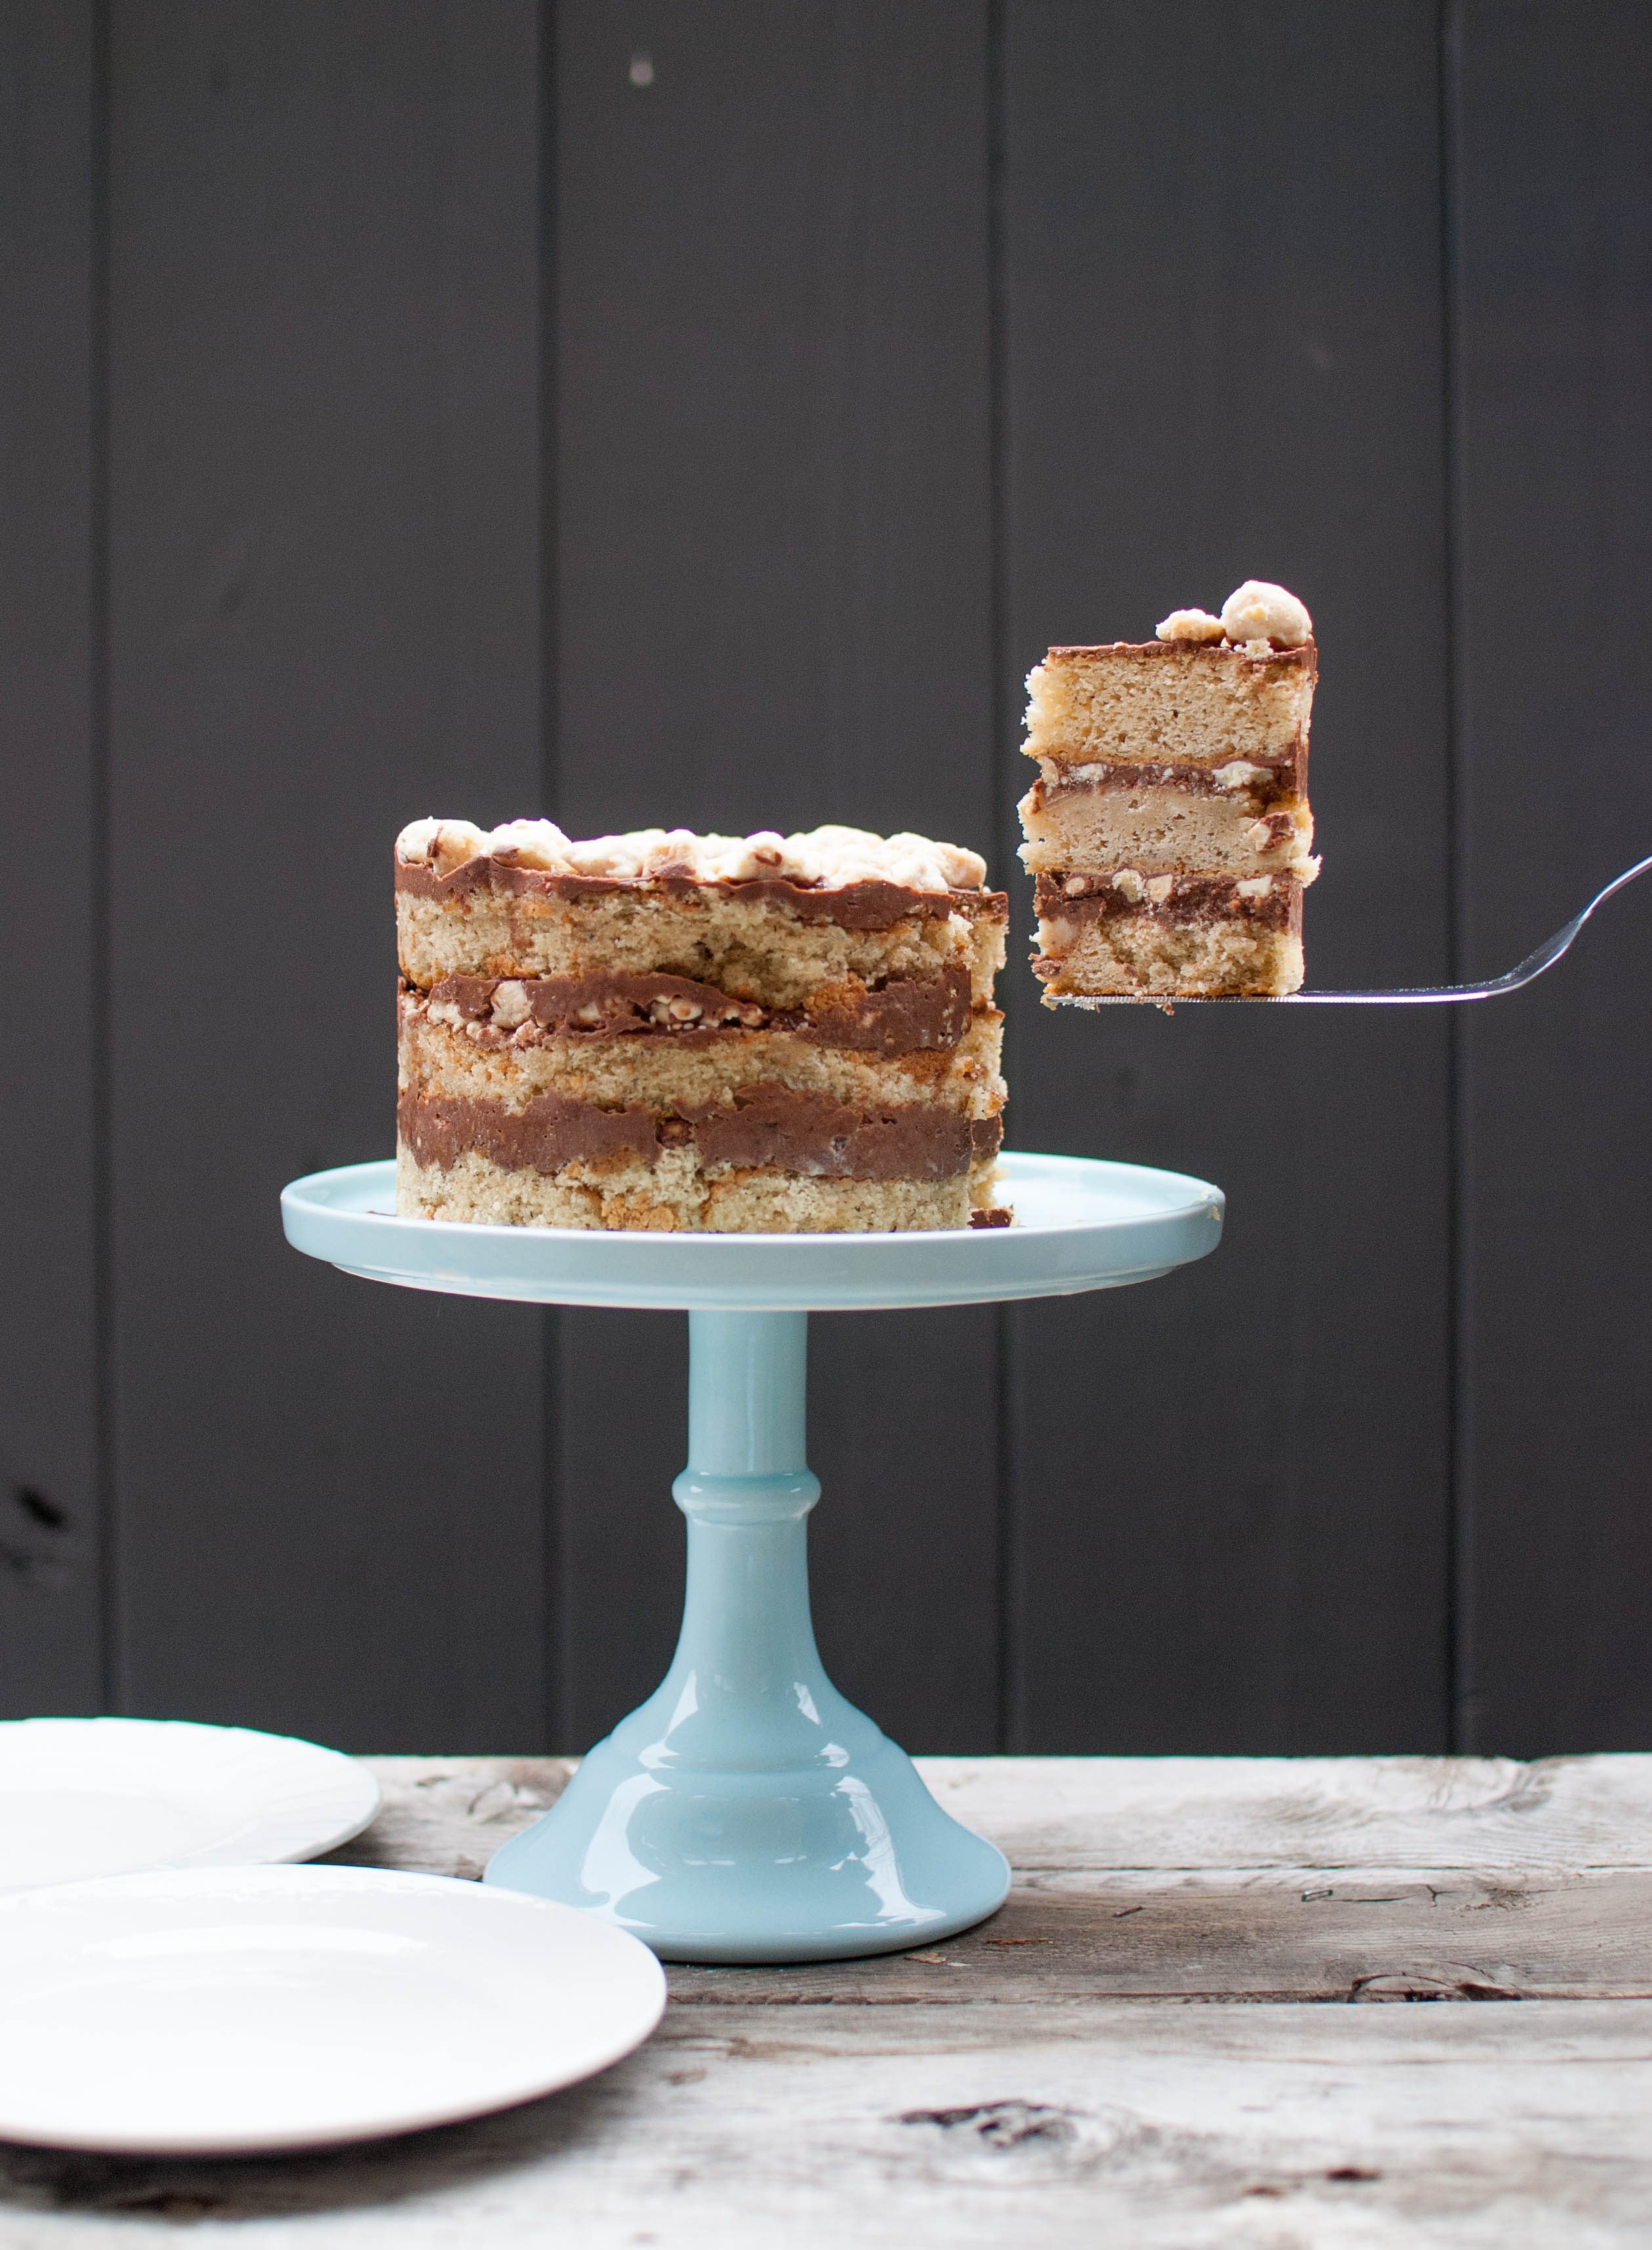 I guess I’m just especially accident prone when around cakes and cake stands, because I took this photo just after climbing on the edge of an unstable patio table and crashing to the ground. Luckily, no cake was harmed this time!
It’s been an amazing 2 years and I cannot begin to tell you how much I’ve loved finding a new form of self-expression through baking, photographing and writing for this blog. Whether you’ve been reading my posts since day one or found this one on a whim today, thank you so so much for all of the wonderful support!
Now I bet you’re sitting there wondering when I’m going to quit blabbering and show you how to make the frosted red velvet cakies you came for.

Well, I’m done with my blabbering (for now), so let’s move on to the main event! These cakies (which are like mini cakes in cookie form) are from Izy Hossack’s fantastic book but can also be found on Molly Yeh’s site (Izy and Molly, you guys are my two fave bloggers out there!)
I love these treats because instead of committing to making (and eating) an entire red velvet cake, you get the same classic flavors and textures in a smaller, more manageable form. These are super easy to make and scarily addictive, so be warned!
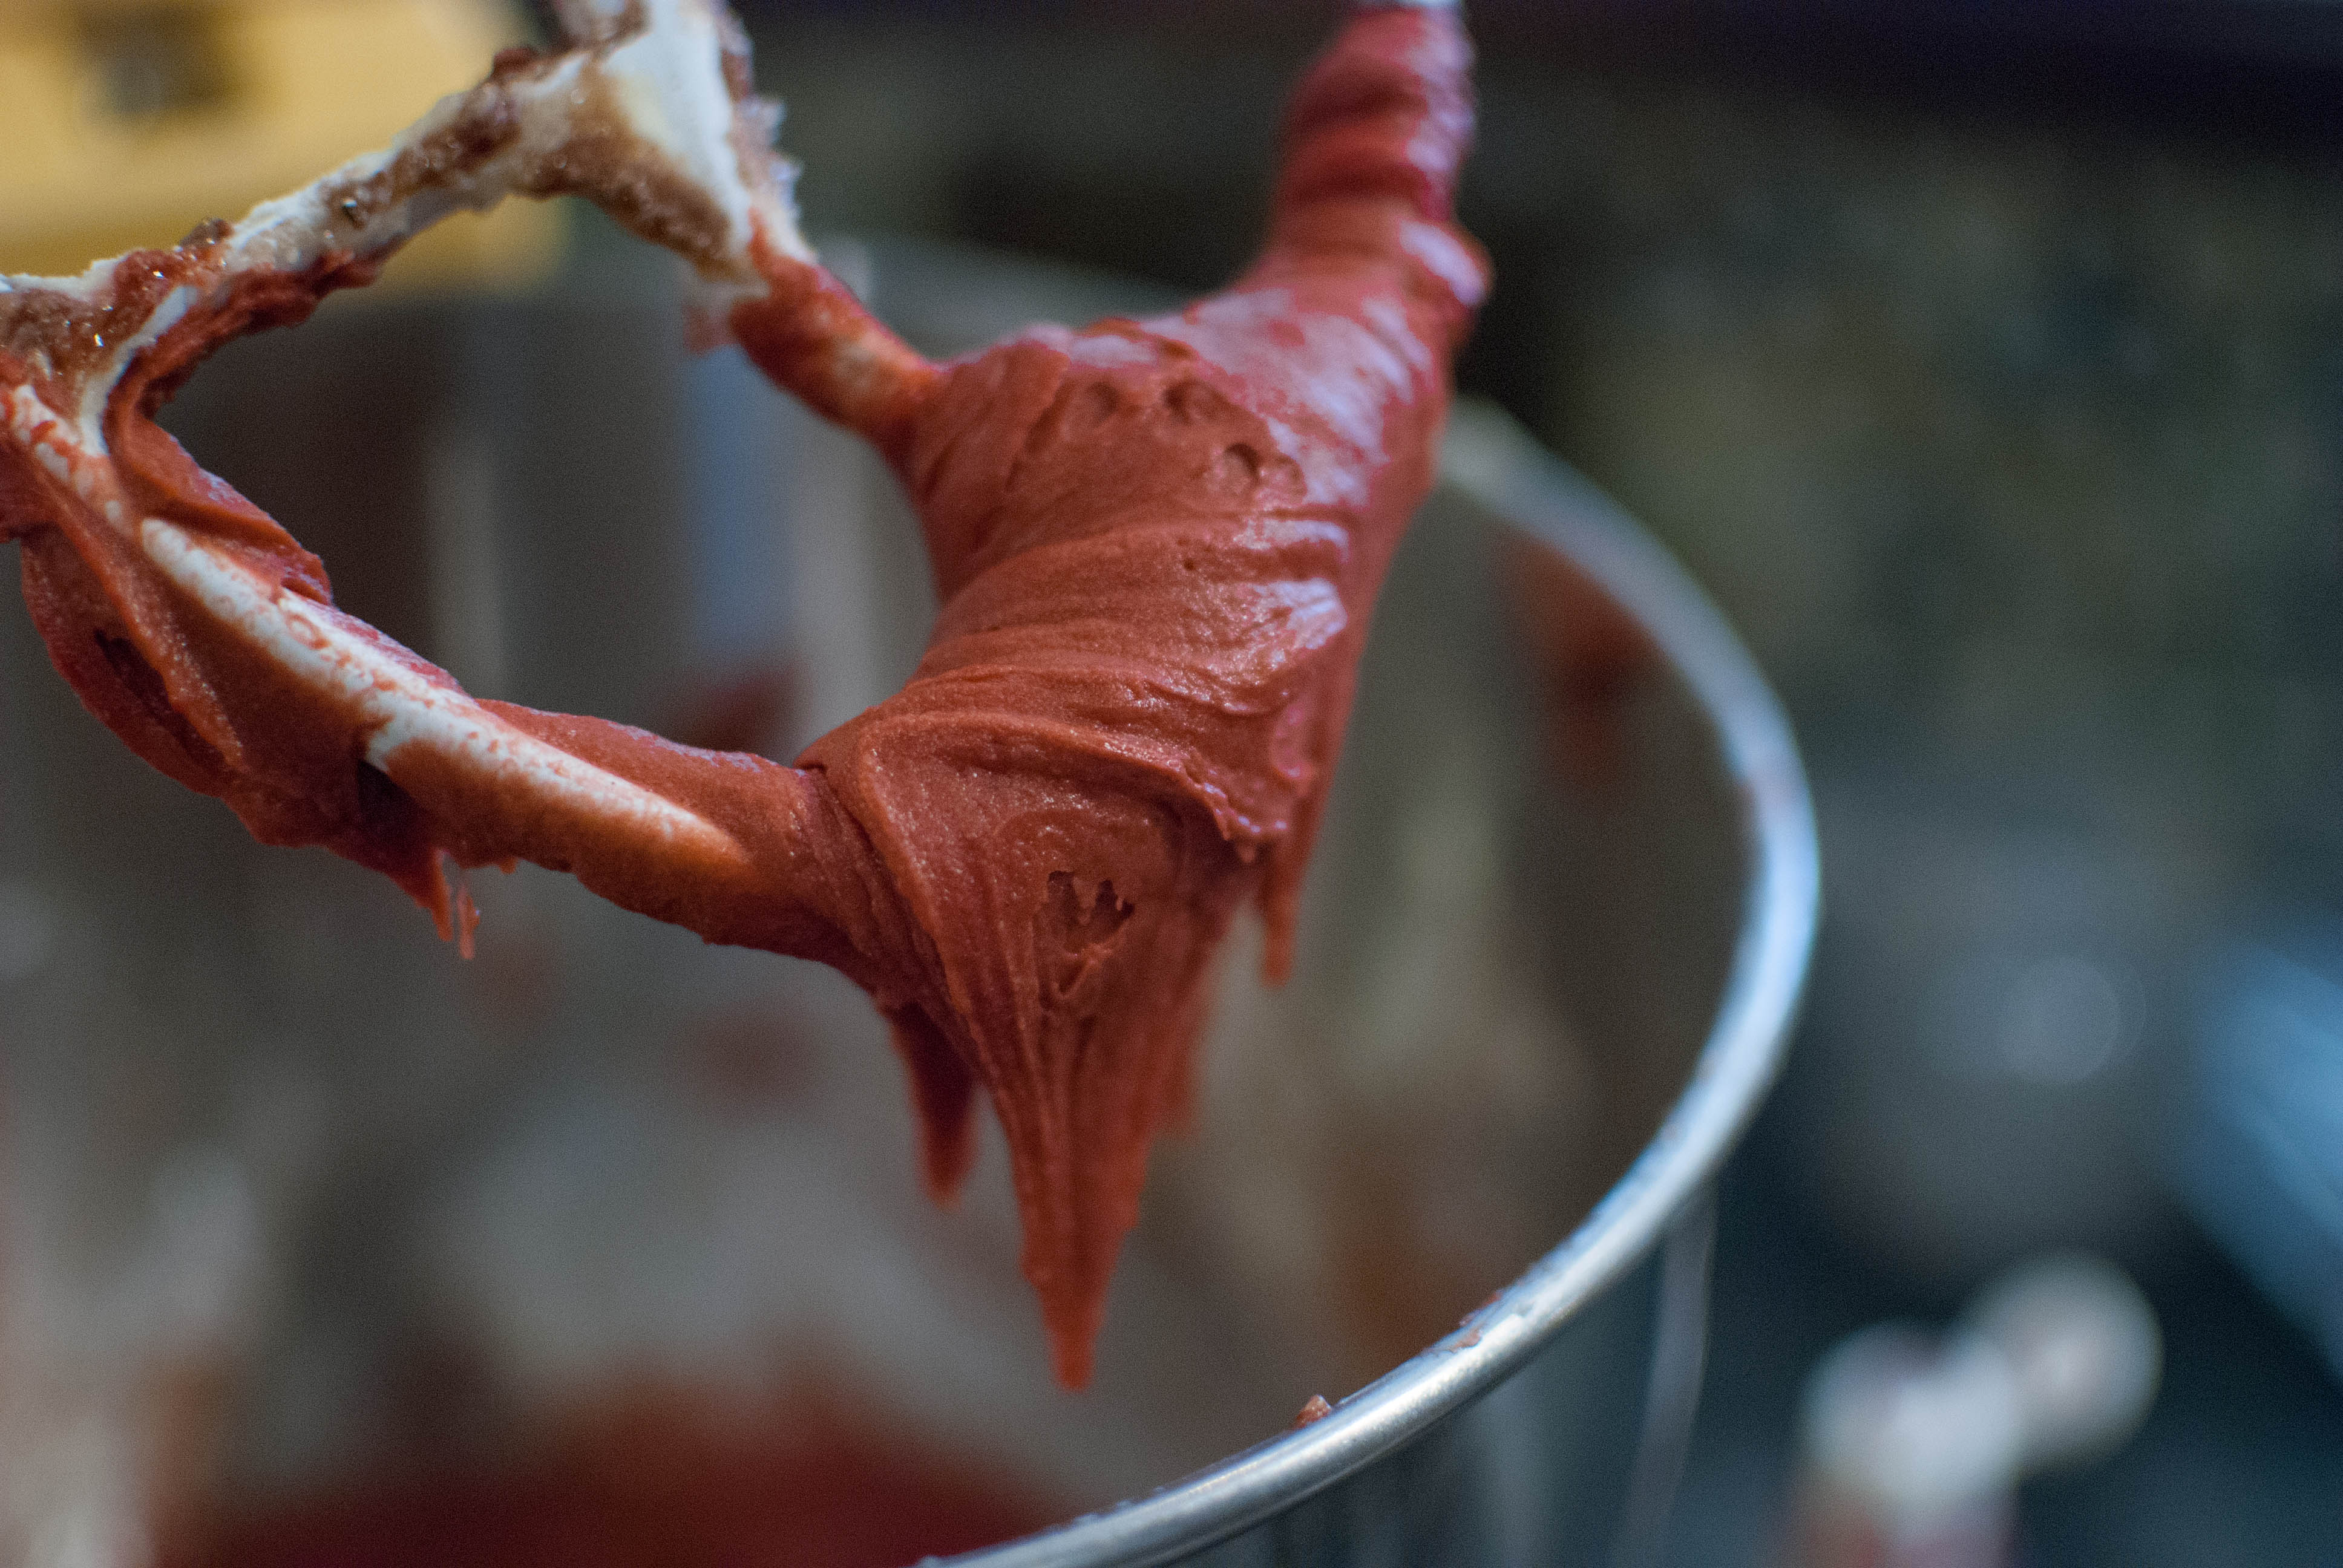 To make the batter, just cream together some butter, sugar and vanilla, then stir in two eggs, some sour cream or yogurt, a bit of cocoa powder and some red food coloring. Last, add in flour and a touch of baking powder.
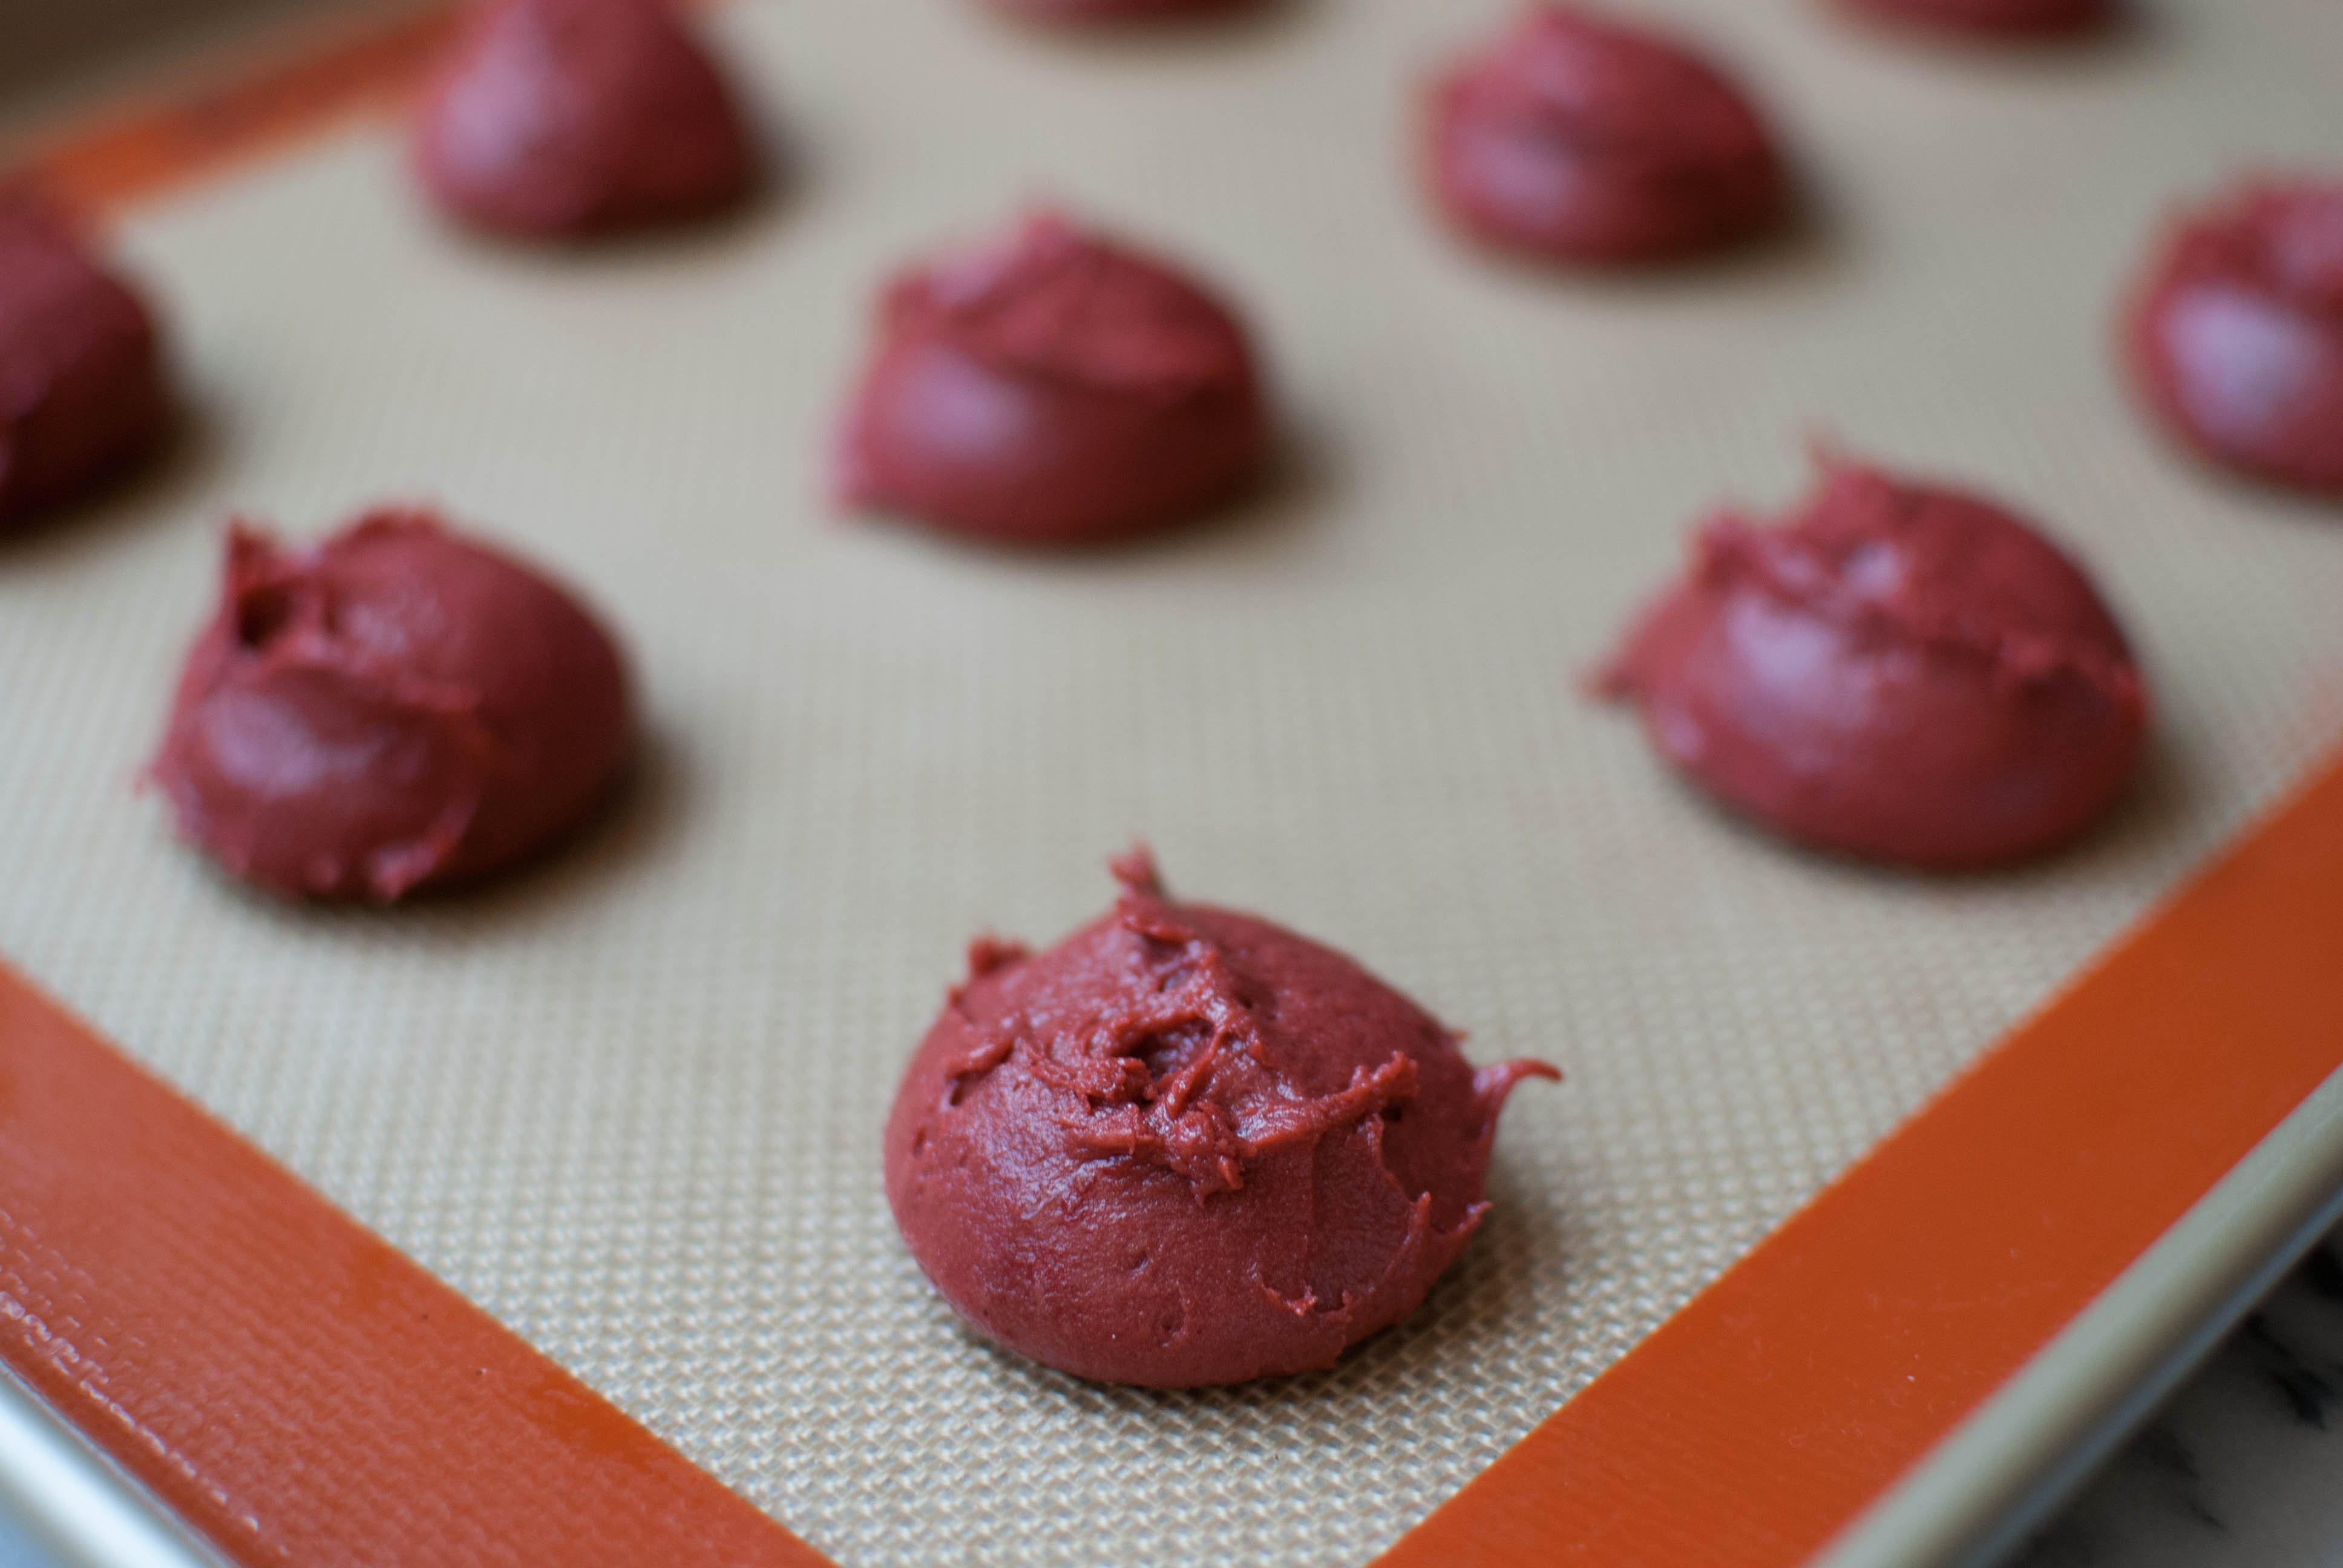 Drop the batter by the heaping tablespoon onto a parchment or Silpat-lined baking sheet and pop ’em in the oven for around 8 minutes.
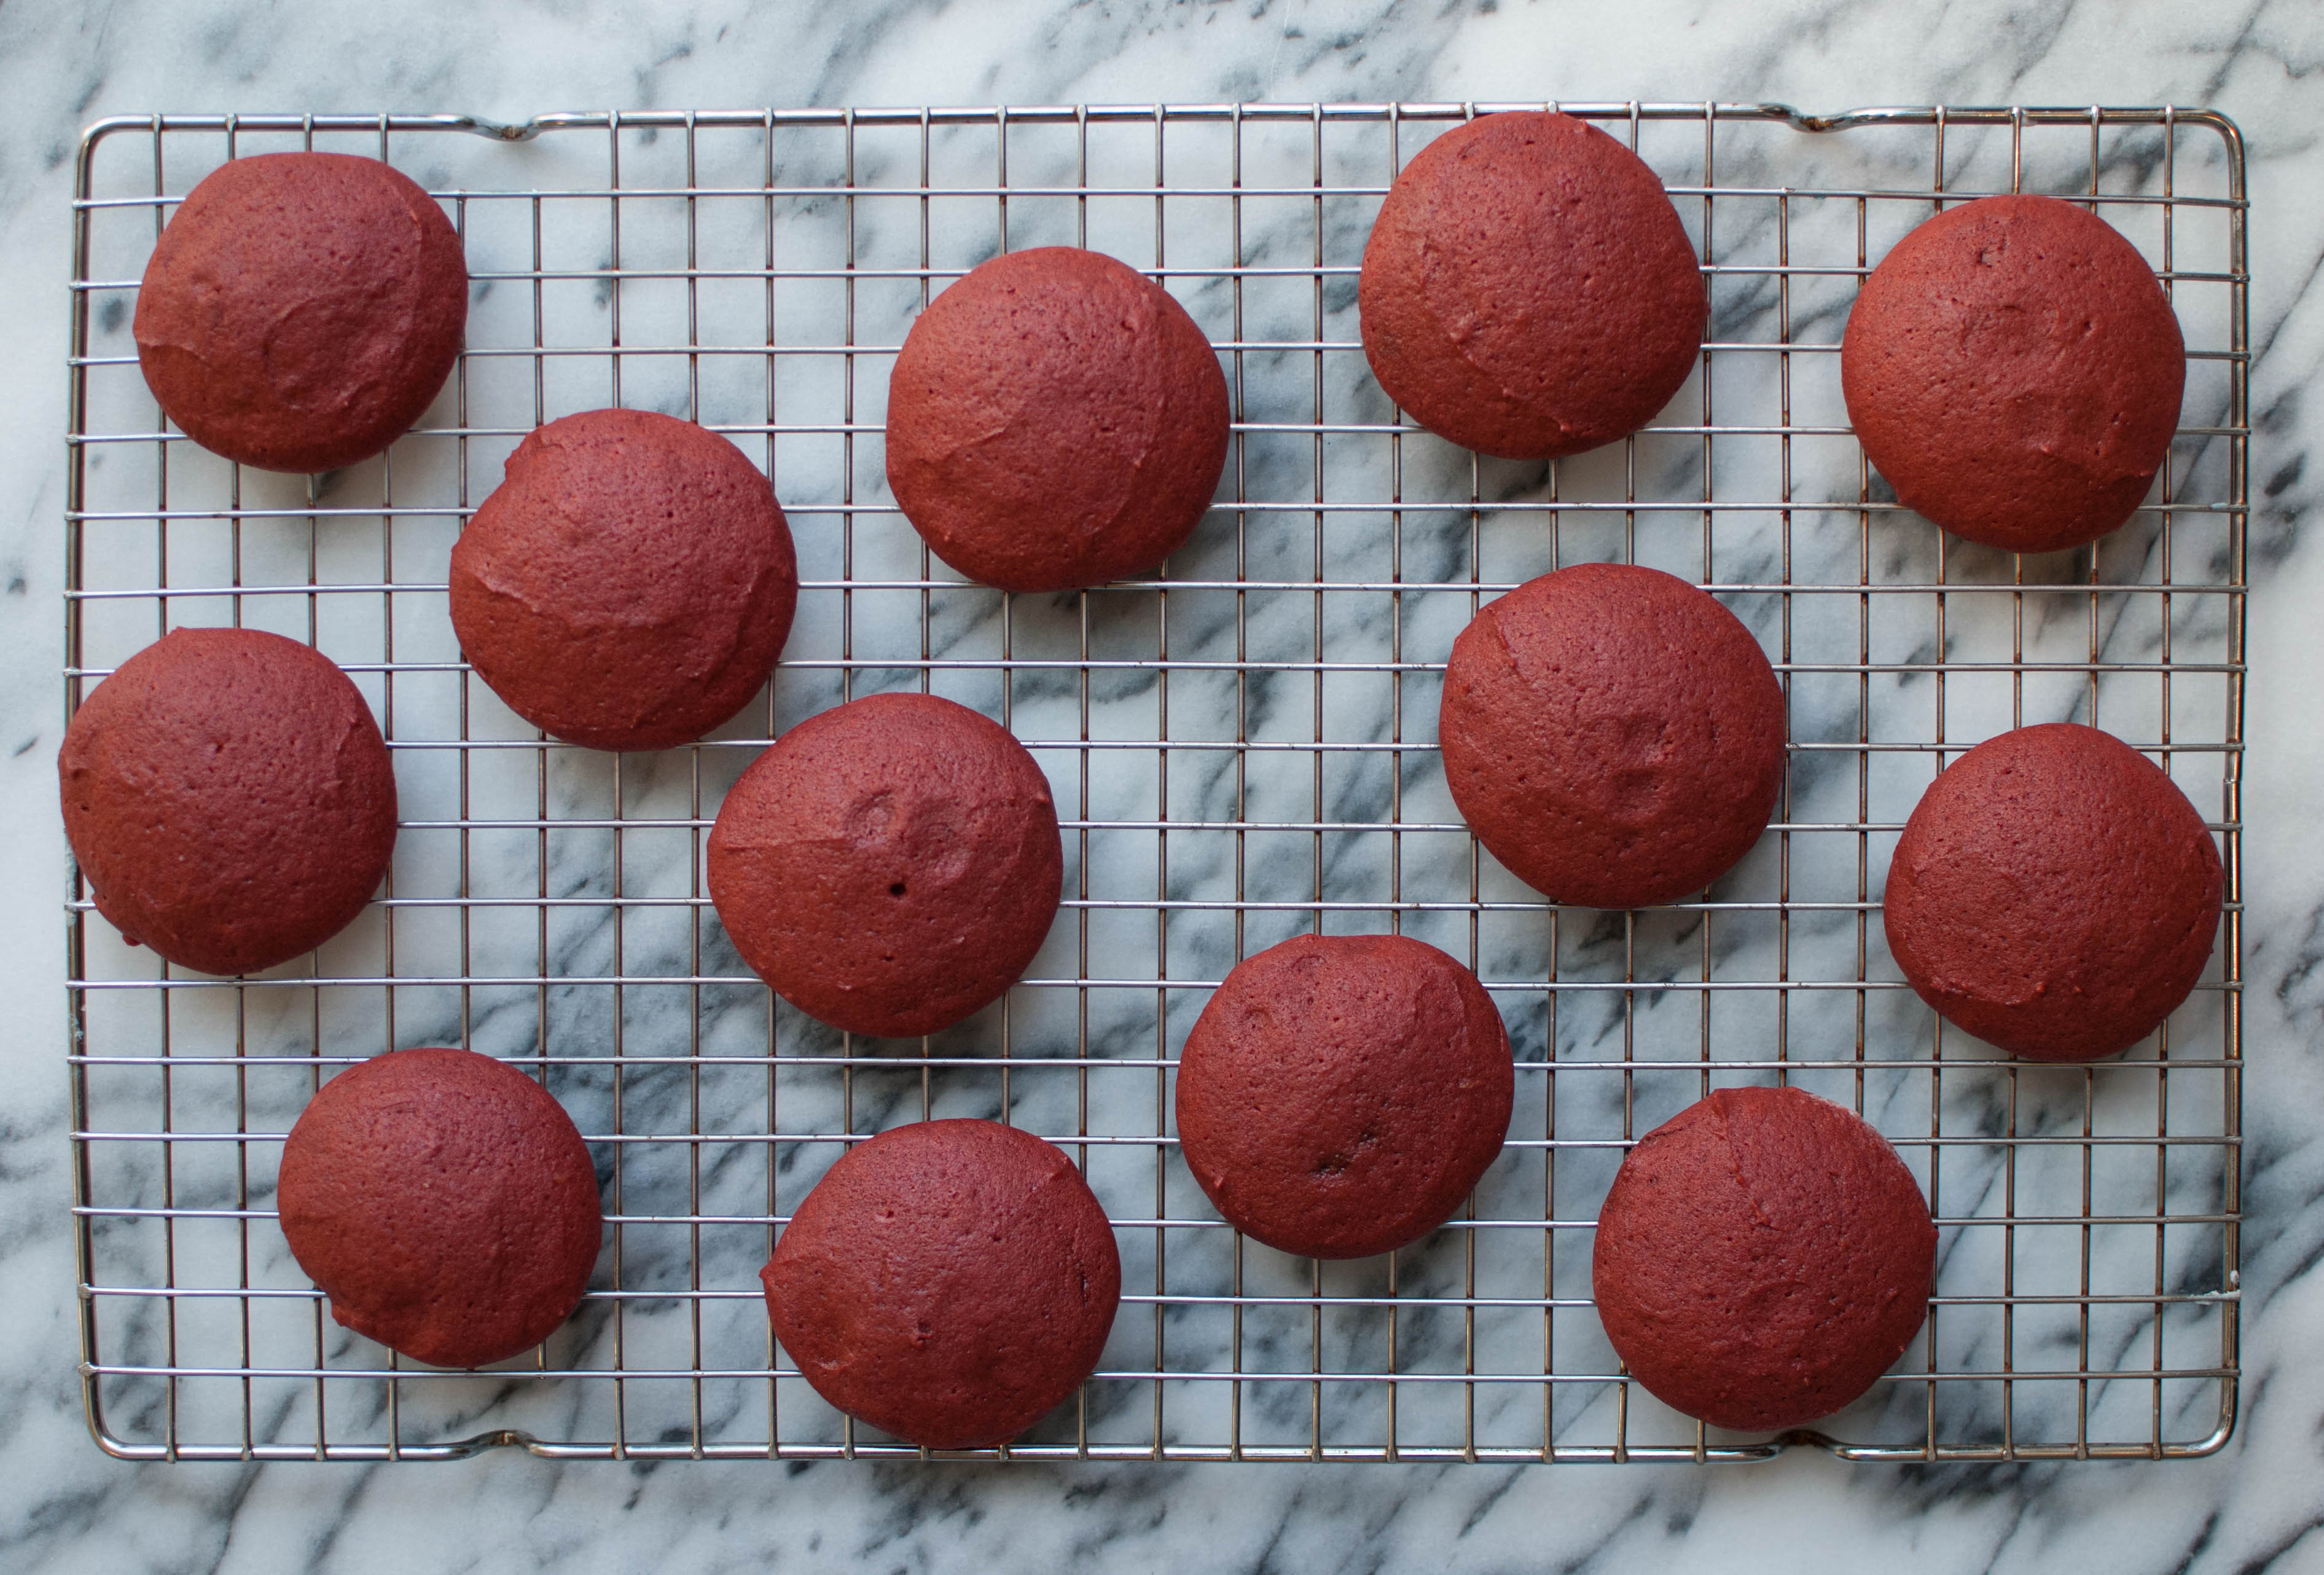 Cool on a wire rack while you whip up the frosting: Just beat together some butter, cream cheese, vanilla and confectioners’ sugar. Simple as that!
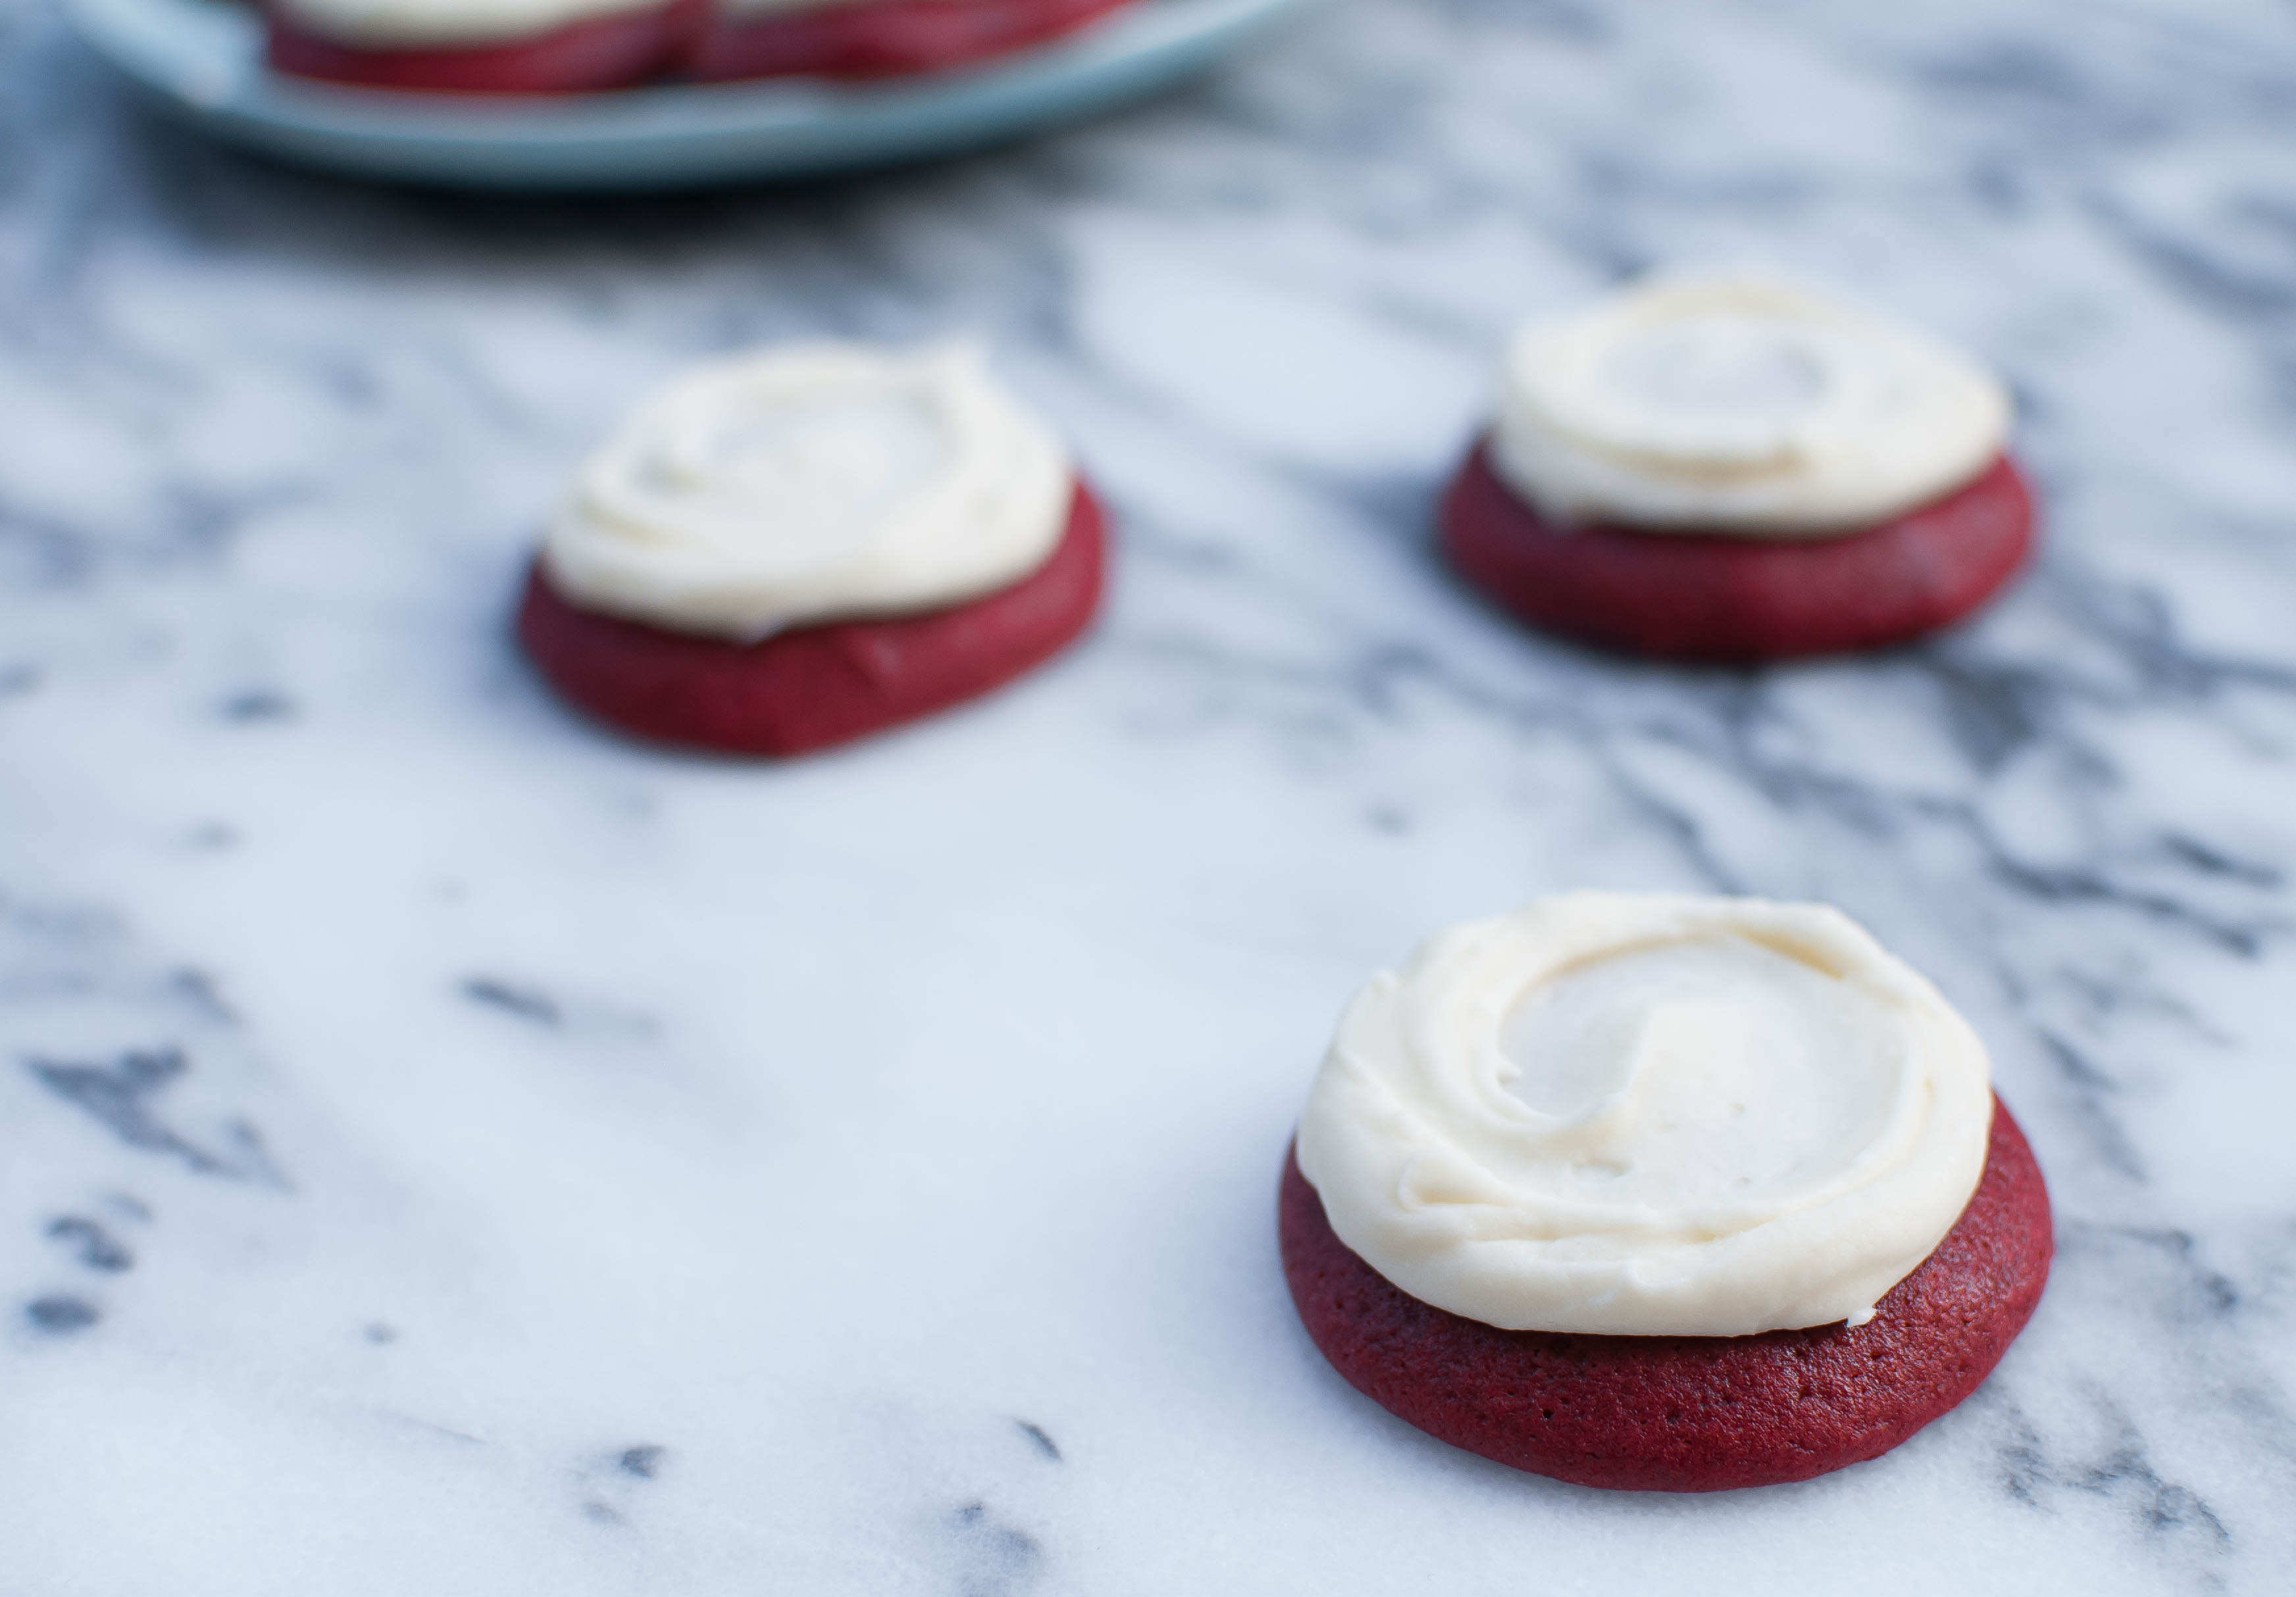
Spread a generous amount of frosting on each cakie…

And let the snacking begin! These are seriously so yummy; the cake to frosting ratio is perfect, and they’re small enough that you can eat two (or seven…)
Frosted Red Velvet Cakies
from crumbsandnibbles.com, originally from Top With Cinnamon by Izy Hossack
Makes 24 cakies
Ingredients:
For the cakies:
- 1 stick unsalted butter, softened
- 1 teaspoon vanilla
- 1 cup sugar
- 2 eggs
- 1/4 cup sour cream or plain yogurt
- 2 tablespoons cocoa powder
- 1 tablespoon red food coloring (I used about 10 drops of the gel kind)
- 2 cups flour
- 1 teaspoon baking powder
For the frosting:
- 6 tablespoons unsalted butter, softened
- 5 oz. cream cheese, softened
- 1 teaspoon vanilla
- 1 1/2 cups confectioners’ sugar
Directions:
- Preheat the oven to 350 F and line a baking sheet with parchment or a Silpat.
- In a large bowl, cream together butter, sugar and vanilla until fluffy. Stir in the eggs, sour cream or yogurt, cocoa powder and red food coloring. Stir in the flour and baking powder.
- Drop the batter by the heaped tablespoon onto the prepared baking sheet. Bake for 7-9 minutes, until set and a toothpick comes out clean. Cool completely on a wire rack while you make the frosting.
- In a medium bowl, beat together the butter, cream cheese, vanilla and confectioners’ sugar. Spread onto the cakies and enjoy!
Happy nibbling!
1 Comment
dailysephie
March 21, 2016 at 3:55 pmThese are insane! Must try it. Hugs and kisses zx